
Repair & Recolour Kit
The bestselling repair and recolour kit for solid-colour, pigmented leather. Fixes damage and restores colour. Refresh the colour, or change it entirely.




A pro-grade repair and refinishing system for pigmented (painted/coated) leathers.
This best seller is the one you need if you want to cosmetically repair surface damage such as scratches, holes, pet damage, rips, scuffs, cracks, and general wear and tear. It's also the kit you need if you want to correct colour problems like stains and discolouration. Use the same colour or change it up with a new one. Apply by hand with a sponge or use a spray gun. No special experience needed.
For sofas, cars, apparel, bags and lots of other leather
Calling all DIYers. You'll love the professional results you can achieve with this premium leather repair and recolour kit. From small touch-ups in your car to changing the colour of an occasional chair or recolouring an entire lounge suite, this kit enables showroom results.
A tannery grade system
Our refinishing system is the real deal. It echoes the process used on your pigmented leather in the tannery. No compromising shortcuts, it includes primer for maximum adhesion (a key durability factor), professional grade leather paint plus a separate bottle of performance tested clear topcoat. By using the same layering process as the original manufacturer, a beautiful, wear-resistant transformation is possible. It's flexible and self-sealing which means that it won't rub off onto your clothes.
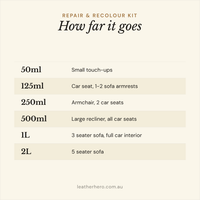
Coverage
| 50ml | Small touch-ups, scuffs and scratches, or a single repair area up to 40cm x 40cm |
| 125ml | Car seat, 1-2 sofa armrests, 2 standard sofa seat cushion tops, or lots of small touch-ups |
| 250ml | Armchair, 2 car seats, 3 standard sofa seat cushion tops, or 3-6 bar stools |
| 500ml | Large recliner, all car seats, 2 small armchairs, or 4-6 dining chairs |
| 1L | 3 seater sofa, full car interior, 2 large recliners, or 6 or more dining chairs |
| 2L | 5 seater sofa, 3 seater sofa with an armchair and chaise, or 10 or more dining chairs |
Note: Coverage estimates are approximate. Coverage is affected by a number of variables such as the type and condition of your leather, the colour, whether you are changing colours or touching up the original colour and the method of application. Your job may require more or less of one or more kit component.
Customise your kit
Customise your kit by selecting the size you need, the colour you like and the level of shine in your topcoat. You can also add glue and white leather filler (can be tinted with your leather paint) to your kit if your job has surface imperfections and cosmetic bingles that need to be repaired before doing the colour work. (Selected combinations).
Colour & sheen
The leather paint has a low sheen satin finish so it suits most cars and furnishings. You can make it flatter by adding Dulling Agent (No.30) or increase the shine by using Topcoat Gloss or High Gloss. Offering full coverage, it's possible to cover the old coatings with the same, similar or different colour.
Get ready to take a bow to the tune of applause from your family and friends.
Want to know more about the products? Read through the info on this page then head to the How To library to learn more about choosing your colour and topcoat and how to use the products.
Need accessories for your job? Here they are.
Want to see what other customers have done with this kit? Head to the Customer Before & After gallery.
Instructions: Print the Directions for Use, Tips and Details 
Don't Take Our Word For It
See what customers say about this product
The project turned out brilliantly and the refurbished seats look fantastic and I'm very pleased with the results not to mention the steering wheel which looks like new!


This Norwegian-made chair was purchased by my father in 1975 and has survived 50 years of family life. A friend's upholstery lecturer recommended your products. Your instructions are very helpful and thorough. The products did more than I hoped for. Keep up the good work!


I have before and after photos so you can see what an amazing transformation your product has achieved. Next to do the upstairs corner lounge. Thank you so much.


Just wanted to share my lounge makeover as I'm pretty amazed at the results! I got a Repair Kit from Leather Hero. I am truly shocked how good it looks. It's a 3 step process: prime, colour and top coat seal. Totally worth it.


Loved using the LeatherHero products, and I also found your FAQs and videos very helpful. Especially as I have never done anything like this before. Thanks so much!


Am thrilled with the result. Thanks for all your help. Could not have done it without your informative website and quality products. My colour match ended up being very, very close.


Our poor lounge certainly has a tale to tell. Your product was easy to use and I found it covered well and a little went a long way.


Little success story. First time restoring a lounge with one of your full kit and paint kits.


I'm very pleased with the quality of the product. Very.


I have a much loved 20 year old Longchamp leather bag that was very worn and faded but I wasn’t ready to let it go- the leather largely still in good condition. Using the Hero leather repair and colour kit was a game changer! It now looks new again and has been given the chance at another 20 years. I’ve since ordered the leather conditioner as the bag feels very dry after the treatment but overall I’m extremely happy with the results.
I purchased a repair and recolour kit to restore a white belt. Followed instructions on the site and it worked wonderfully. Belt looks brand new. Was quoted 300 bucks to restore it from another place. Saved a bunch of money. Been using the belt for the last week or so and it is still looking good, nothing is coming off.
Finally a product that does what it claims. Restored my crazed leather couch to brand new. Follow the steps provided and it works perfectly. Highly recommended. Will definitely use again.
Leather Hero is an amazing product. It transformed my 40 year old leather recliner. It looks almost new. The process was easy to follow with great directions. BTW I'm an 82 year old grandma and if I can do it anyone can!
I couldn’t believe my eyes, a worn out Italian leather lounge ready for the dump was restored to near new condition. I purchased the complete kit from cleaner through to too coat. The process was easy and very satisfying to see it come along in the stages. I never thought the product would be as amazing as it was and when I shared photos of the before and after to friends they thought I used filters and AI to make it look better.
Super impressed with how easy the products were to use, the fill paste is silky smooth and flexible and repaired the tears beautifully. I used Aniline Cognac with Dark Chocolate antiquing topcoat coat and the end result was superb. I cant seem to attach my images...sorry. Highly recommend ! 5 Stars +++
I was initially reluctant to attempt to change these brand new black seats to a lighter colour and to try and match the original 55 year old interior not only in colour but also patina. The people at Leather Hero gave good advice and the results exceeded my expectations.
I ordered the 1 litre Repair and Recolour kit in white plus an extra 250ml white gloss paint for a large 3 seater lounge. It looks like a brand new couch - spectacular after painting but in retrospect another 250mls would've been perfect. I had a bottle of primer open in transit and Leatherhero replaced it straight away. Will definitely be purchasing again - keep up the good work guys! :-)
I wanted to restore the driver seat and arm rest in my old BMW, I received ridiculuos quotes for a replacement ($$$$). So I decided to give it a go myself. It was a relatively easy process and I'm quite happy with the result. With a little more patience, it would have been perfect. I'll know what to do on the next one.
I have before and after photos so you can see what an amazing transformation your product has achieved. Next to do the upstairs corner lounge. Thank you so much.
Our lounge was at a point where we felt. We had to replace it due to the wear and stains on the leather but we could not find a new style that we liked as much. The hero treatment has brought our lounge back to new and we are so happy that we did not have to replace it with something we did not like nearly as much
I was sceptical that I could do the job but after a full day and several coats it was well worth the effort
Perfect colour for my fix up job , professionals wanted to charge $632 for leather patch up. I researched and found your product
Had a 24 y/o steering wheel with small wear hole in leather. After filling hole used restoration kit and wheel came up beautifully. Best part no real skills required.
Thankyou for your help in rectifying a color we mistakenly purchased to repair our lounge. We are more than happy with the result, after your suggestion. We highly recommend your products, your service, fast delivery and your care. Thankyou
I changed my lounge suite from chocolate brown to grey. I'm really pleased how it's looking I've only done 1 coat so far and it looks great... was so easy to do and the paint covers a lot of area.... so happy & really impressed :)
A large patch of discolouration ruined an otherwise expensive and rather classy sofa. I wasn't expecting much to be honest but thought worth a try. A superb result. You'd have to look very carefully indeed to see it. A very good product. Thanks
The instructions were easy to follow, and I can’t believe how good my repaired footstool looks. Next time I will use some filler and aim for a more perfect finish , but I am very happy with the result I achieved I am encouraged to do more restorations
Bought this stuff to DIY my sofa. The results are really good, saved me heaps of money calling someone out to repair.
Exact same colour as our leather. Instruction to use were easy. Delivery great and we are happy with results
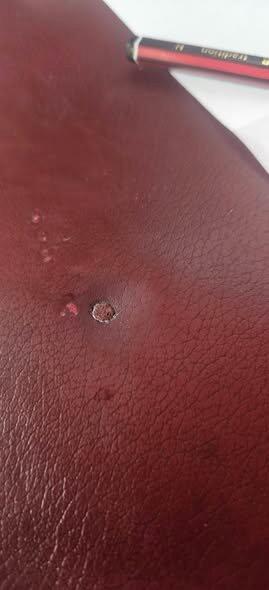
Purchased car seats for a project one had a cigarette burn the other just required some minor touch up. The leather kit was easy to use and surpassed all expectations.
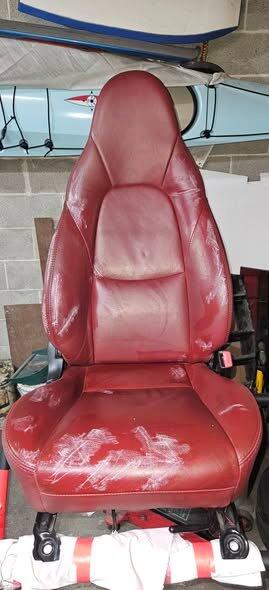
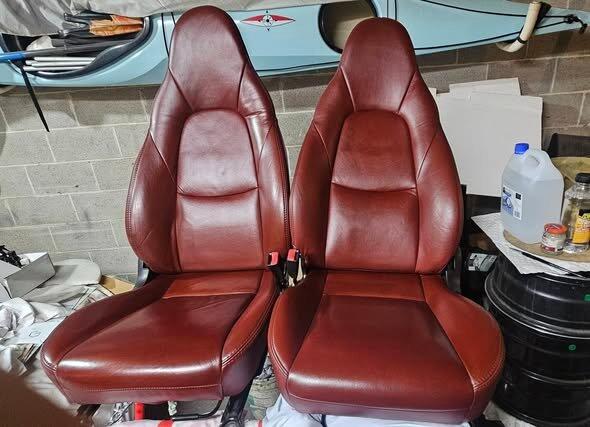
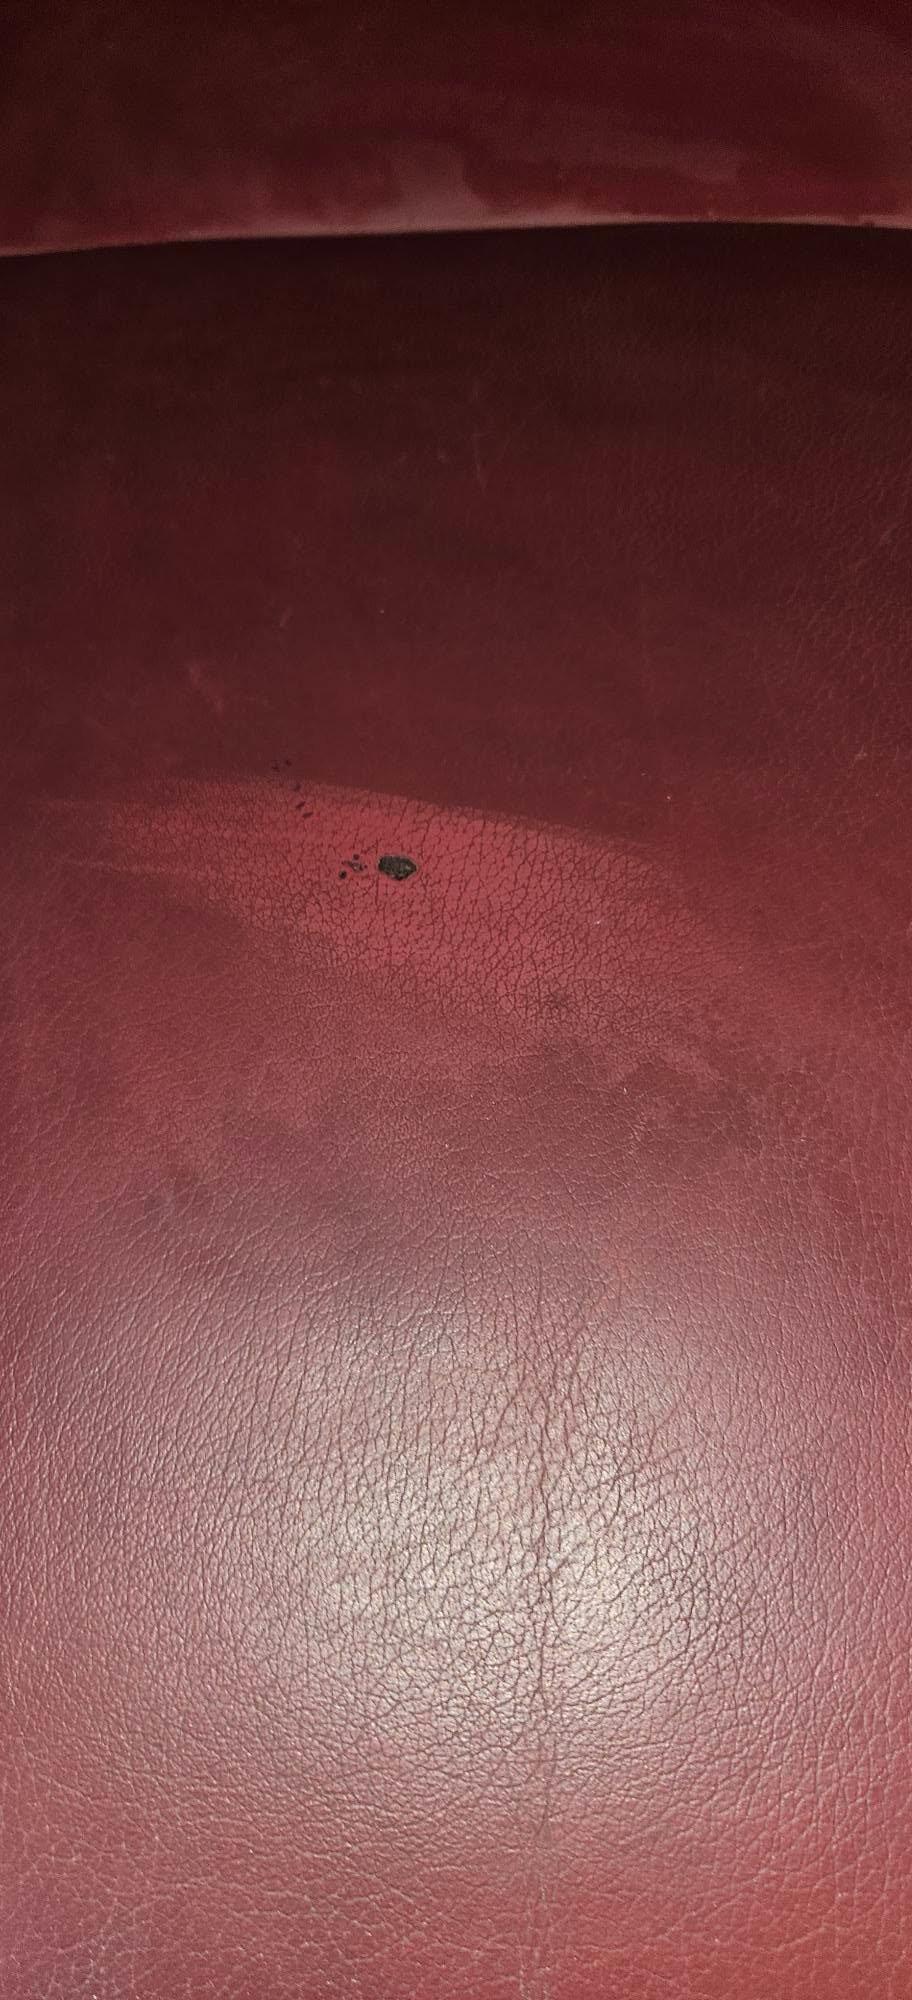
I couldn’t believe my eyes, a worn out Italian leather lounge ready for the dump was restored to near new condition. I purchased the complete kit from cleaner through to too coat.
The process was easy and very satisfying to see it come along in the stages.
I never thought the product would be as amazing as it was and when I shared photos of the before and after to friends they thought I used filters and AI to make it look better.


No, You're Amazing! What a beautiful job you've done. Thank you for letting us know and for sharing your pics. We agree that it very satisfying to see a restoration emerge successfully throughout the process, no AI or filters necessary!
I wanted to restore the driver seat and arm rest in my old BMW, I received ridiculuos quotes for a replacement ($$$$). So I decided to give it a go myself. It was a relatively easy process and I'm quite happy with the result. With a little more patience, it would have been perfect. I'll know what to do on the next one.


Thank you, Marius.
I was sceptical that I could do the job but after a full day and several coats it was well worth the effort


Beautiful job, Diana. Your lounge looks very much refreshed and ready for a new chapter. Thank you for sharing your pics and your feedback.
I was initially reluctant to attempt to change these brand new black seats to a lighter colour and to try and match the original 55 year old interior not only in colour but also patina.
The people at Leather Hero gave good advice and the results exceeded my expectations.


Thank you, David for sharing your feedback. We are thrilled that the colour change went well. Great job!
I have a much loved 20 year old Longchamp leather bag that was very worn and faded but I wasn’t ready to let it go- the leather largely still in good condition. Using the Hero leather repair and colour kit was a game changer! It now looks new again and has been given the chance at another 20 years. I’ve since ordered the leather conditioner as the bag feels very dry after the treatment but overall I’m extremely happy with the results.

Wonderful! Thank you so much for your review. We are thrilled to know that you are happy with the products and the results you achieved with the Repair & Recolour Kit. New coatings can make leather feel a little firmer/tighter. Conditioning improves the feel and normal use also helps to relax and soften the new coatings. Thanks again!
The kit was easy to use on a small scratch/ patch. However, the colour Alpaca, is not the colour on the lid or website photo, much more yellow. Anyway have ordered a beige, so can tone it out a bit, then topcoat.


Thank you for your review!
I changed a white leather lounge to brown. Took about 5 coats to make it look streak less but it worked! Just be aware it may take a whole weekend 😅


Thanks, Cassandra. Your lounge looks great!
Perfect colour for my fix up job , professionals wanted to charge $632 for leather patch up. I researched and found your product
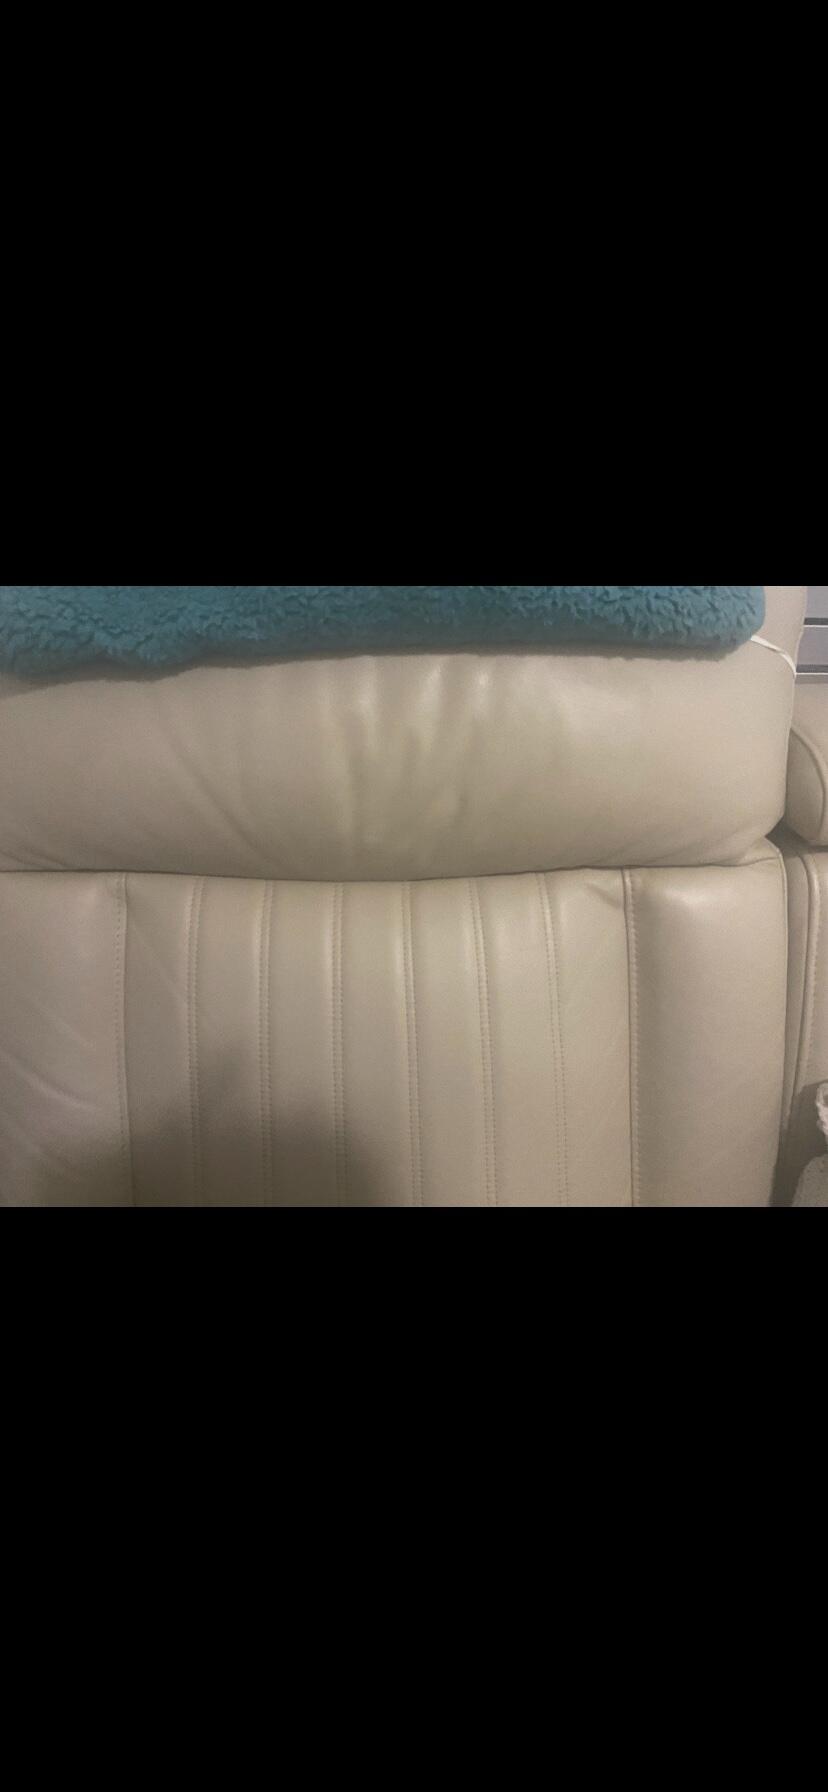
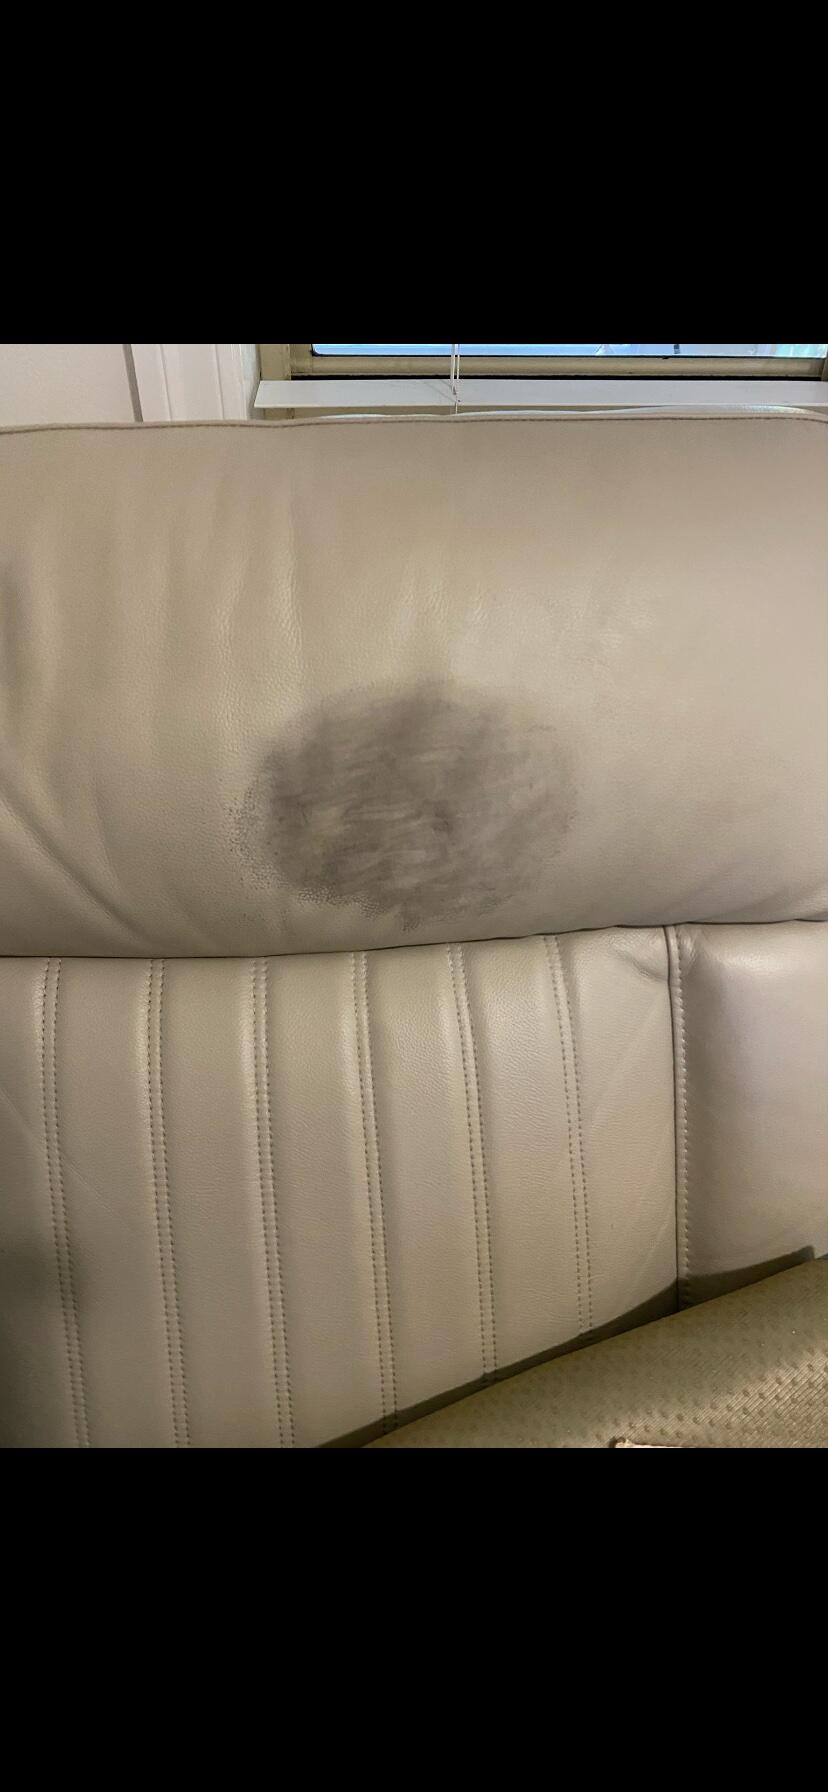
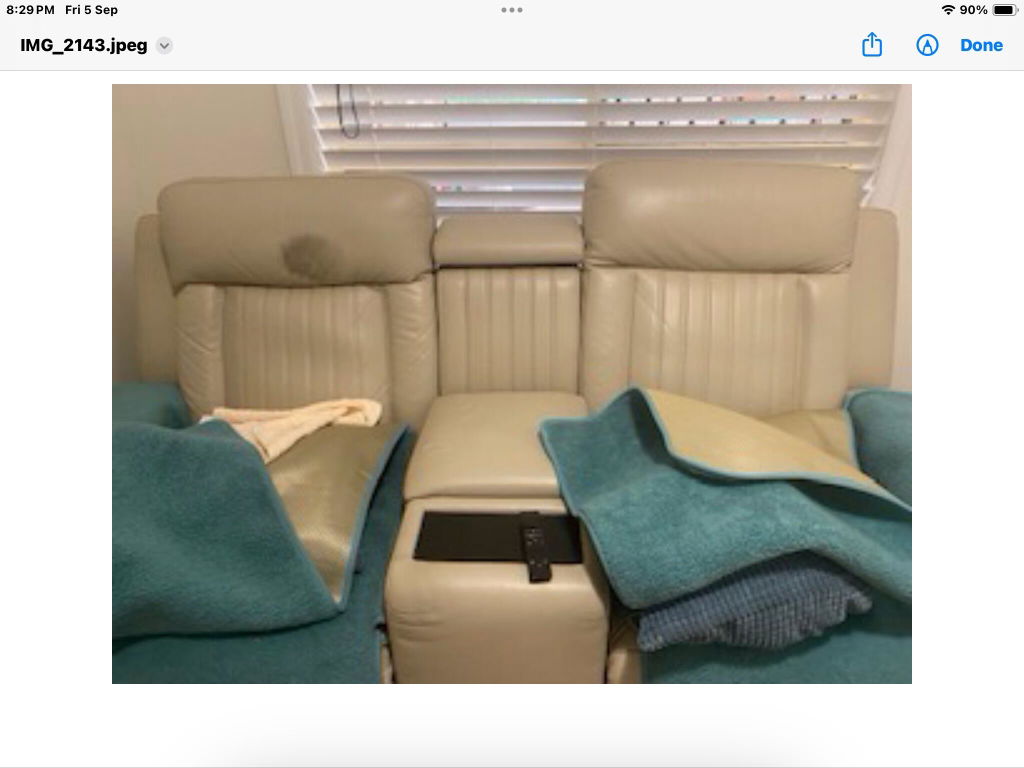
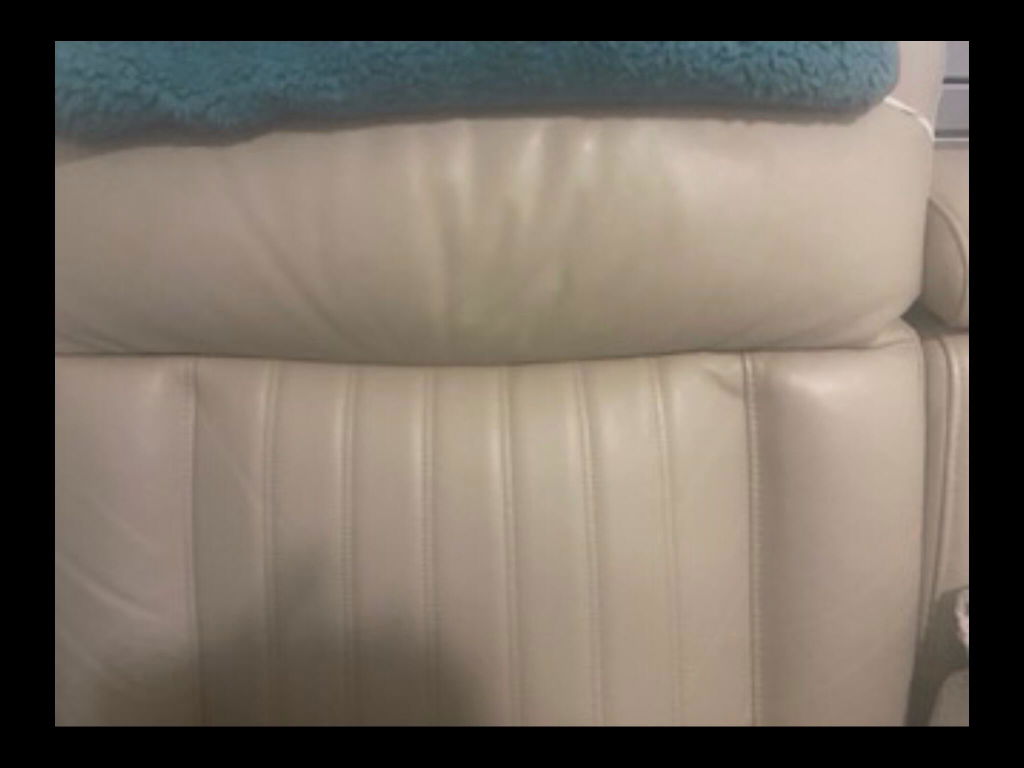
Amazing job, Heidi! So pleased it went so well. Thank you for sharing your feedback and your pics!
I purchased a repair and recolour kit to restore a white belt.
Followed instructions on the site and it worked wonderfully.
Used a hairdryer to speed up the application of the many layers and finished with a low temp bake in the oven to cure it (They didn't suggest the oven bit, that was my idea).
Belt looks brand new. Was quoted 300 bucks to restore it from another place which also included a new buckle. I did the buckle replacement myself too. Saved a bunch of money.
Been using the belt for the last week or so and it is still looking good, nothing is coming off.
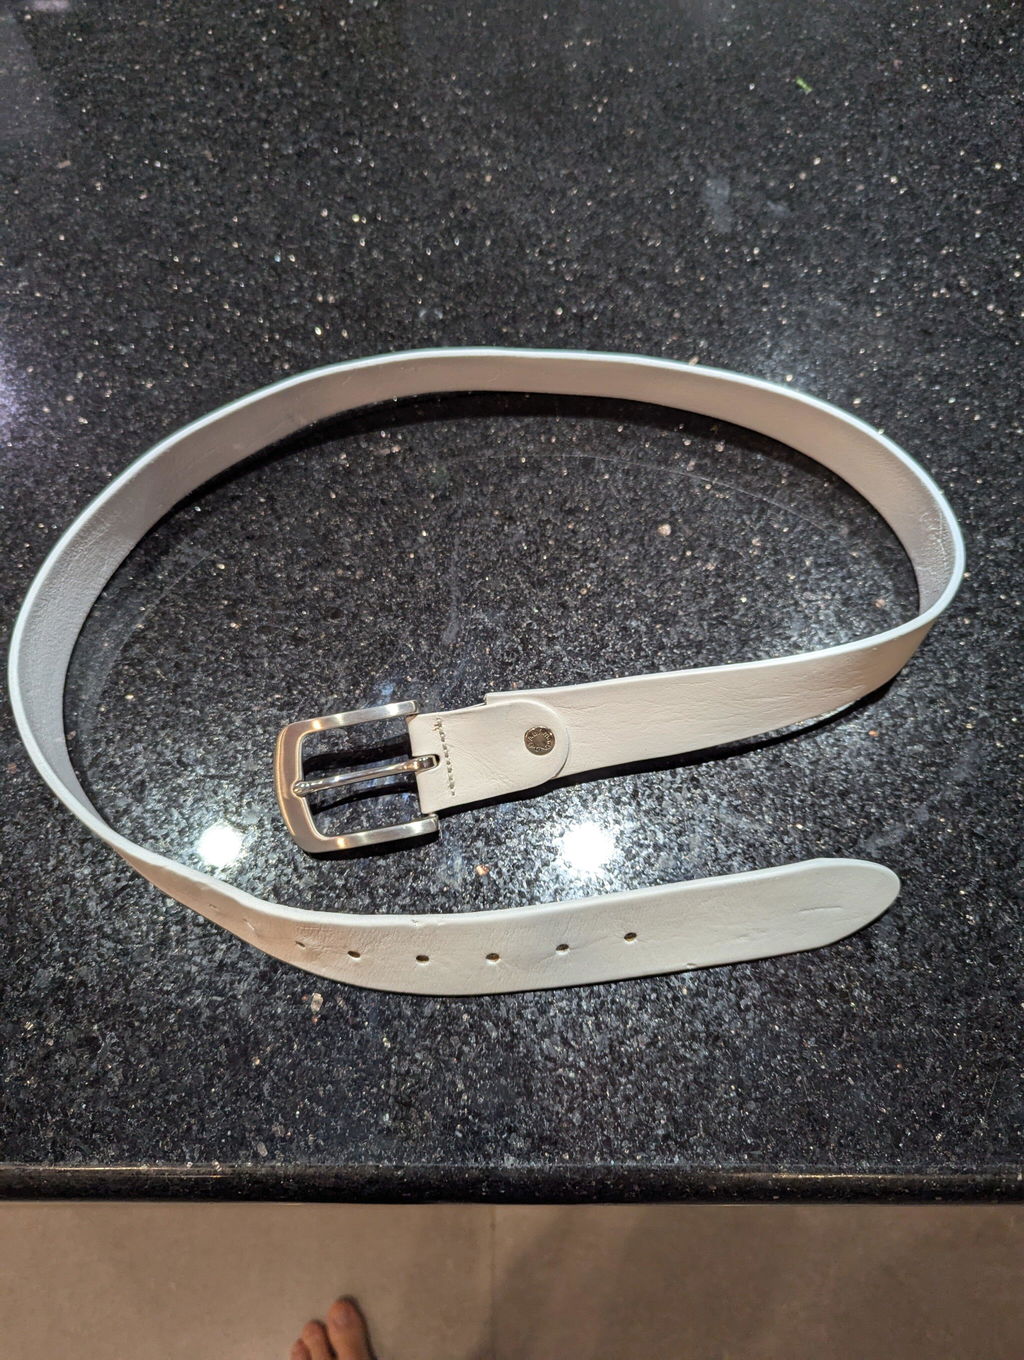
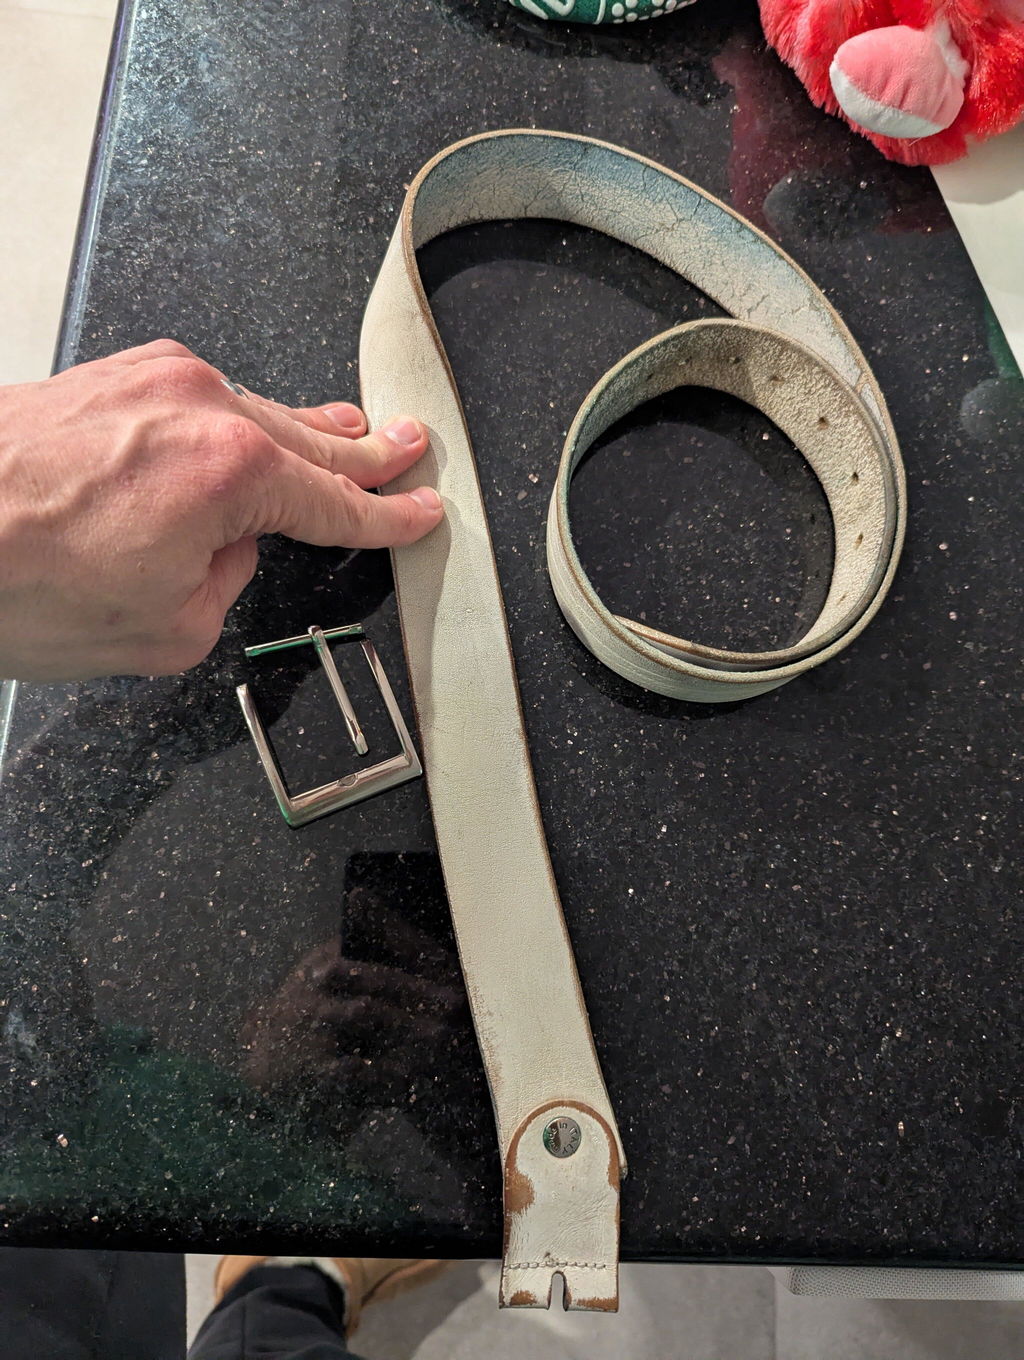
Great job, Bernhard. Thank you for sharing your experience and the 5 stars:)
I have before and after photos so you can see what an amazing transformation your product has achieved. Next to do the upstairs corner lounge.
Thank you so much.
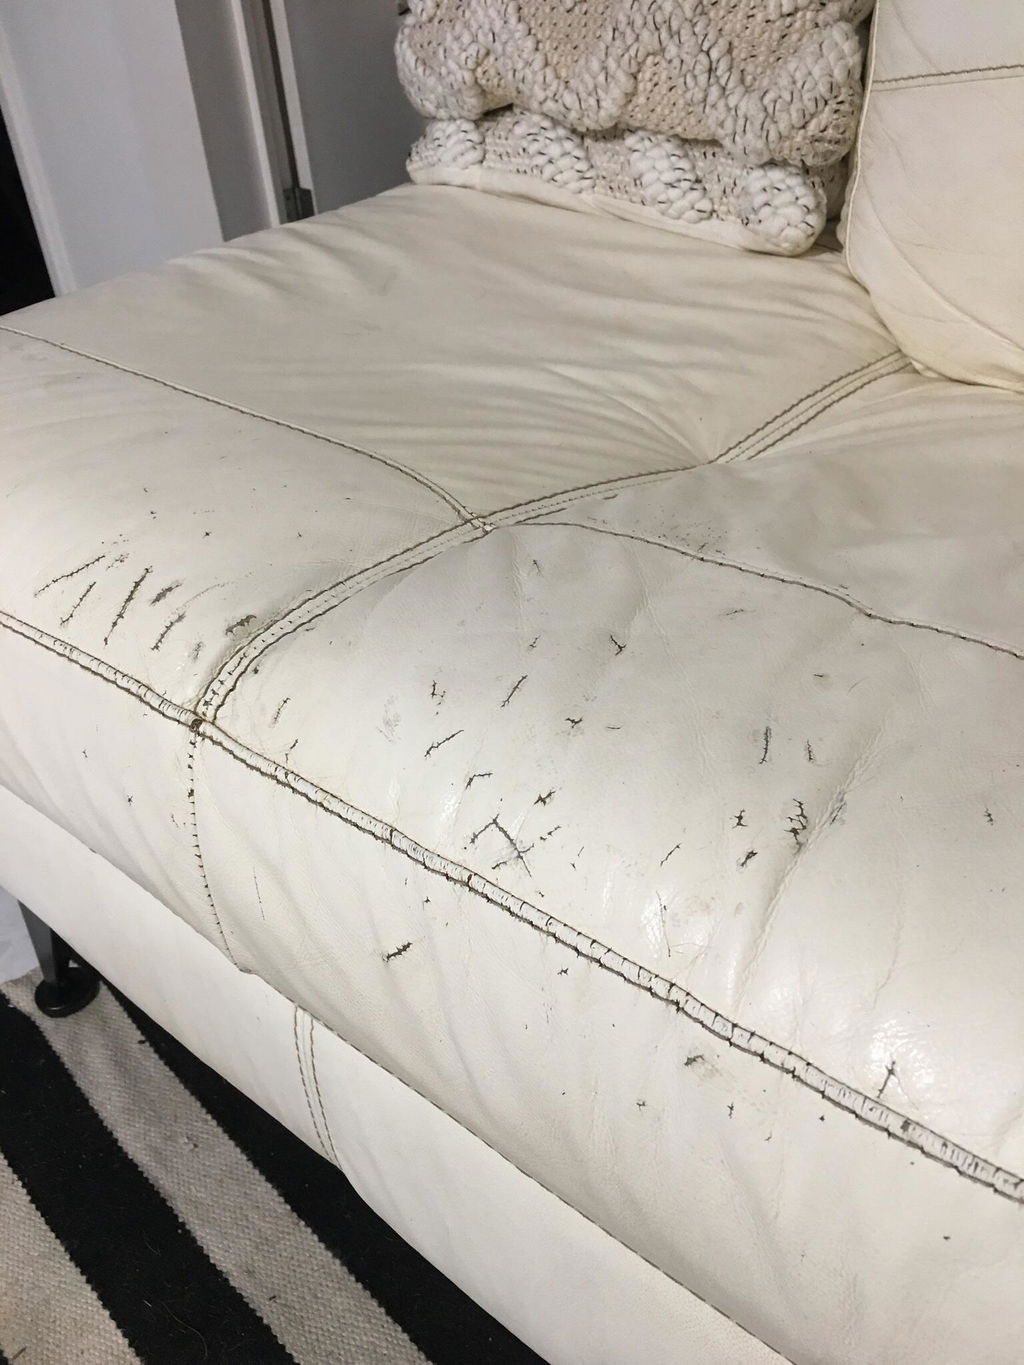
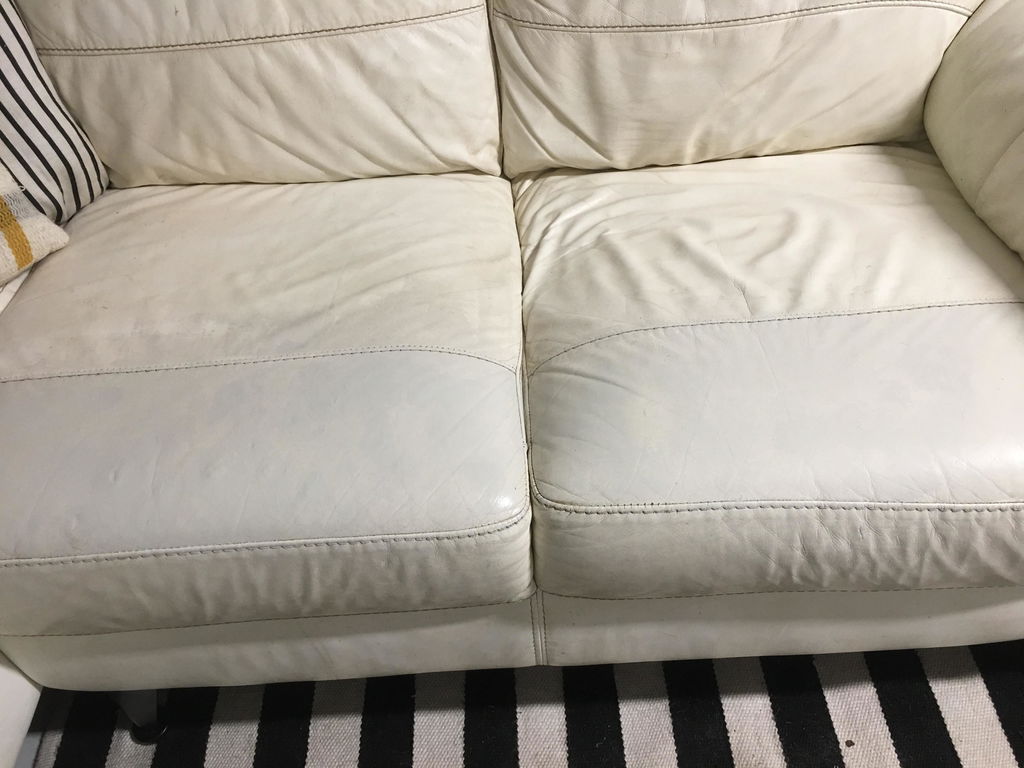
What a transformation! Well done and thank you for sharing your experience.
I ordered the 1 litre Repair and Recolour kit in white plus an extra 250ml white gloss paint for a large 3 seater lounge. It looks like a brand new couch - spectacular after painting but in retrospect another 250mls would've been perfect. I learnt a few things -
1. Prep is extremely important, make sure you buy the 800 sandpaper and sand all surfaces otherwise the paint "wipes off" and doesn't stick to the leather
2. A hairdryer is your best friend
3. Painting a chair or sofa - If the cushions cant be removed to paint separately, start painting in areas where there are crevices eg between the folds of the cushions, the creases at the top or bottom of the seat. Paint carefully in small sections, hold the freshly painted leather services apart and use your hairdryer until the paint is dry before letting the painted surfaces touch. Thank you for all the youtube videos not explaining that lol
I had a bottle of primer open in transit and Leatherhero replaced it straight away. Will definitely be purchasing again - keep up the good work guys! :-)
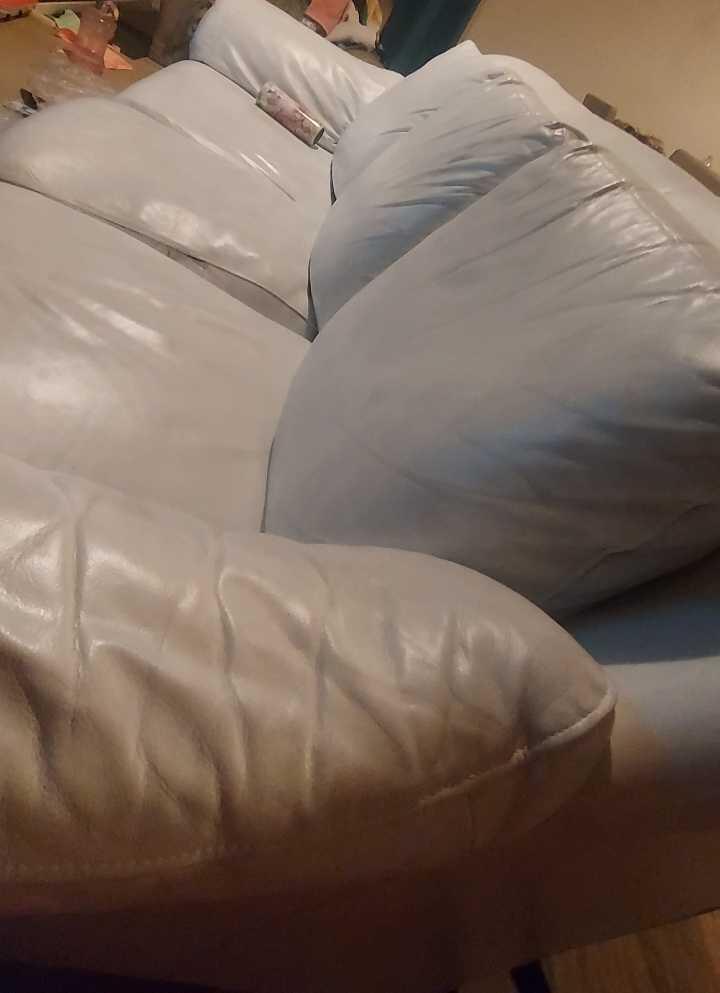
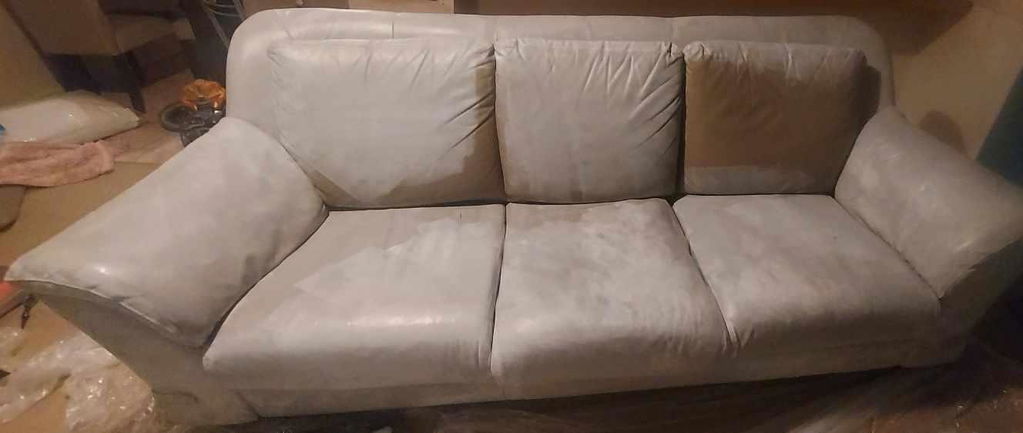
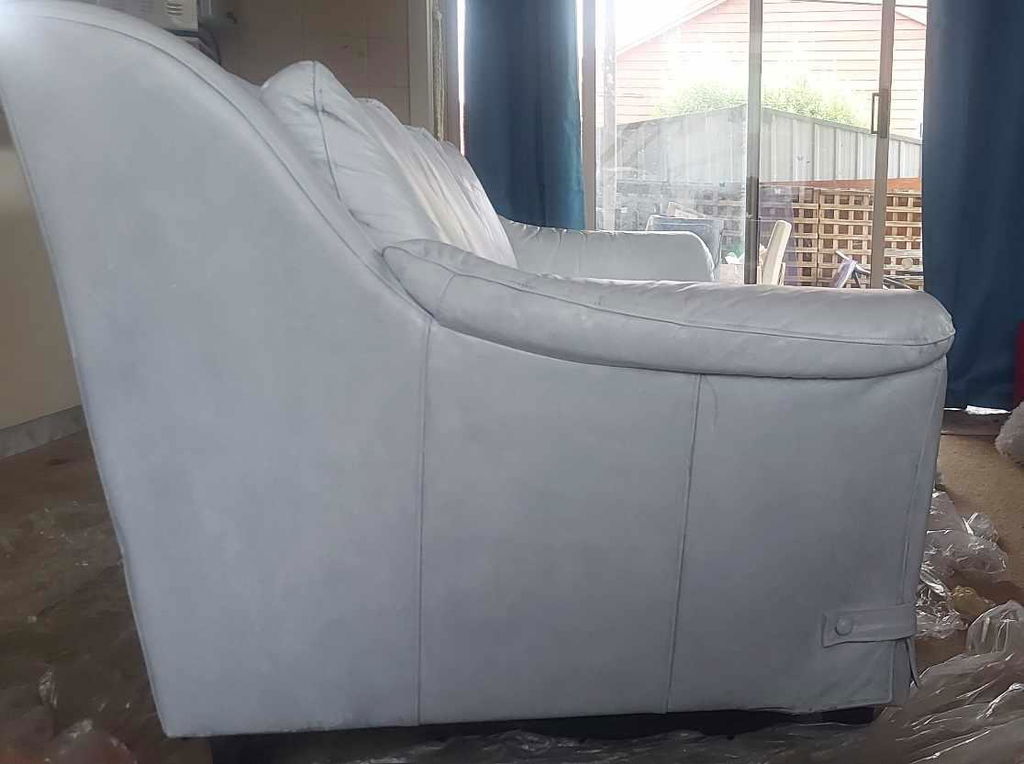
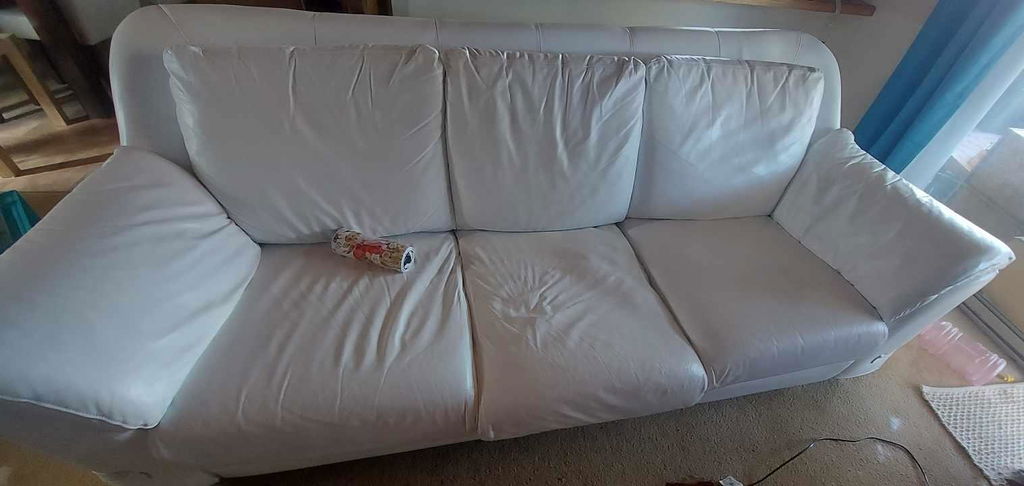
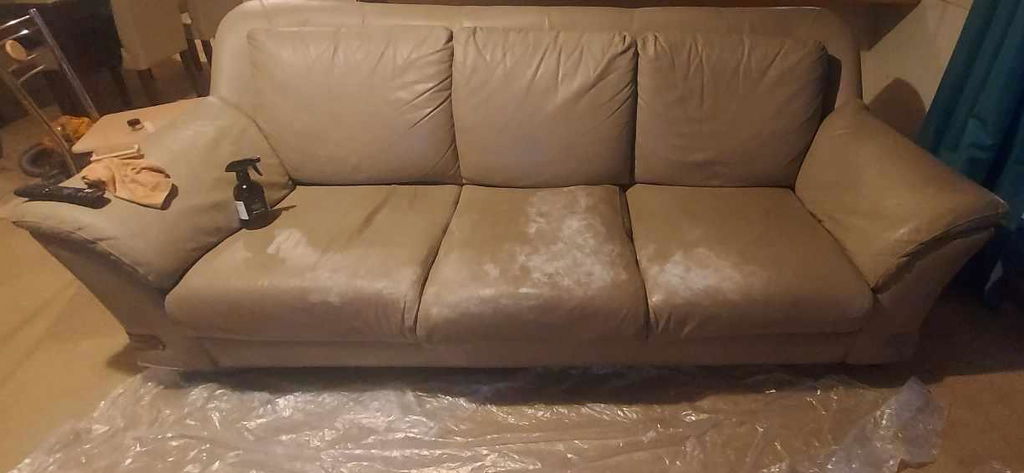
This is such a thoughtful review and we agree with every word! Thank you, Kath. Thank you for sharing your experience and for providing tips based on your experience.
Our lounge was at a point where we felt. We had to replace it due to the wear and stains on the leather but we could not find a new style that we liked as much. The hero treatment has brought our lounge back to new and we are so happy that we did not have to replace it with something we did not like nearly as much
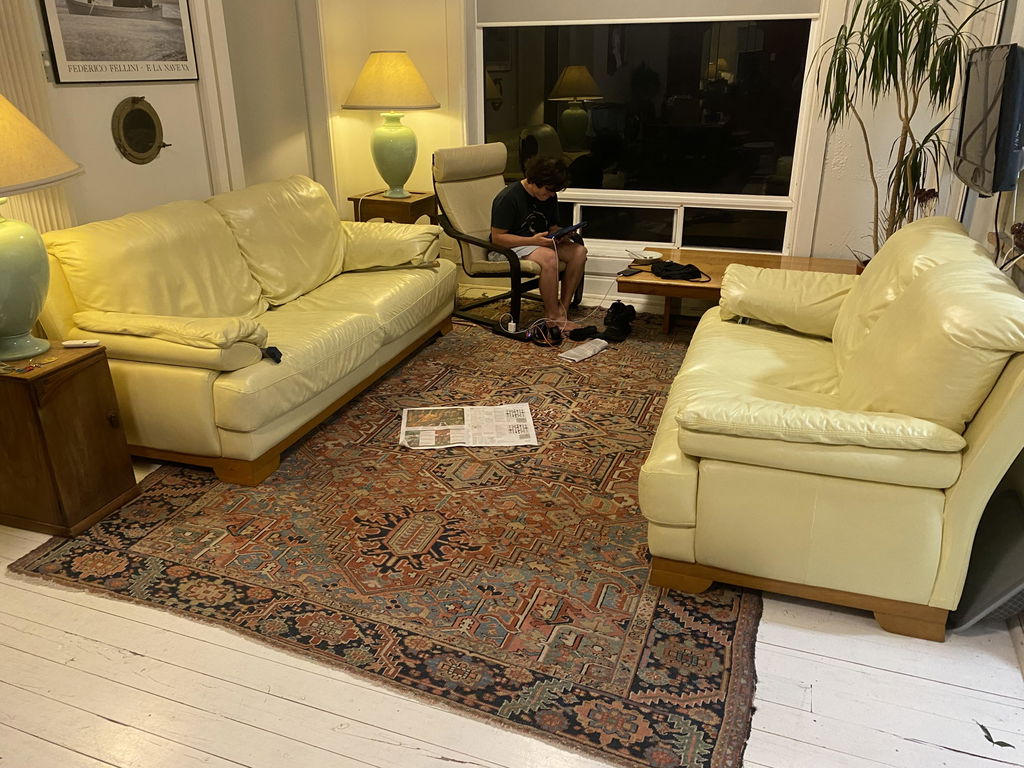
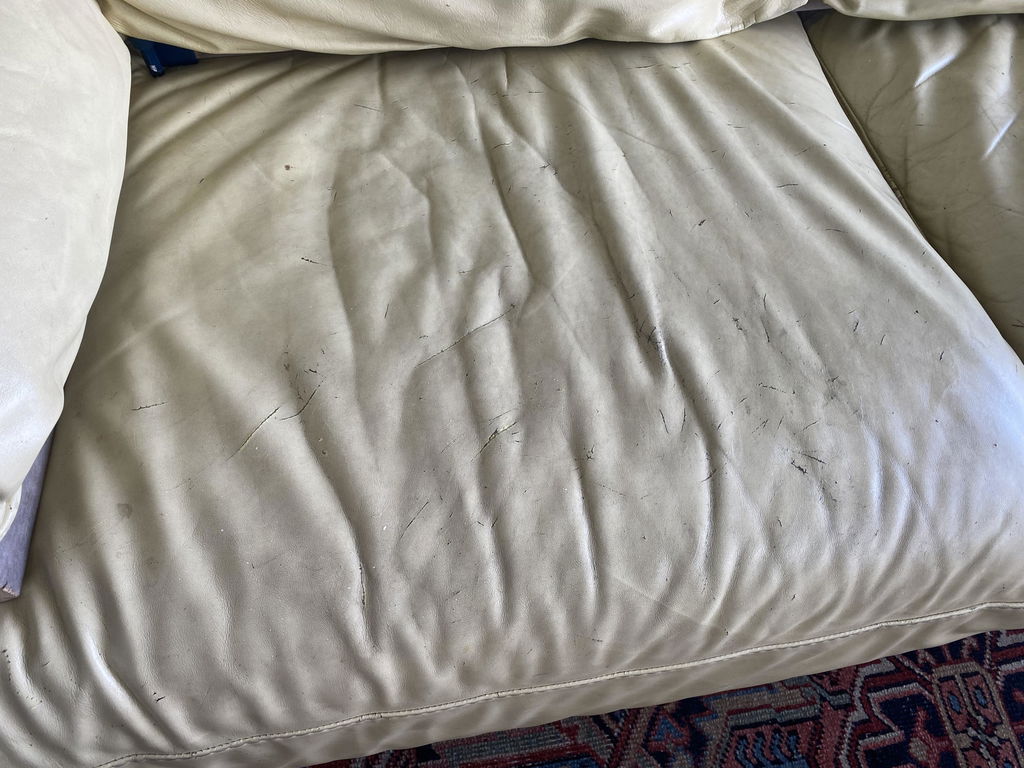
Thank you for your kind words. We are very happy to know that your job went well and you are pleased with the results.
I had a badly worn dark coloured recliner that needed patching, a hole stitched and lots of cracks refilled. The kit worked well, however I think for darker colours, maybe the filler and glue should use a different base instead of white sort of how they tint paints in hardwares. Even though I added some Ruby dye to the filler, it took a lot of coats to blend the resulting pink coloured filler in with the rest of the leather. The repaired parts are still a bit light but now I can use the chair without having to cover it up. Saved me having to spend $2,400 AUS for a new chair so well worth the cost of the kit.
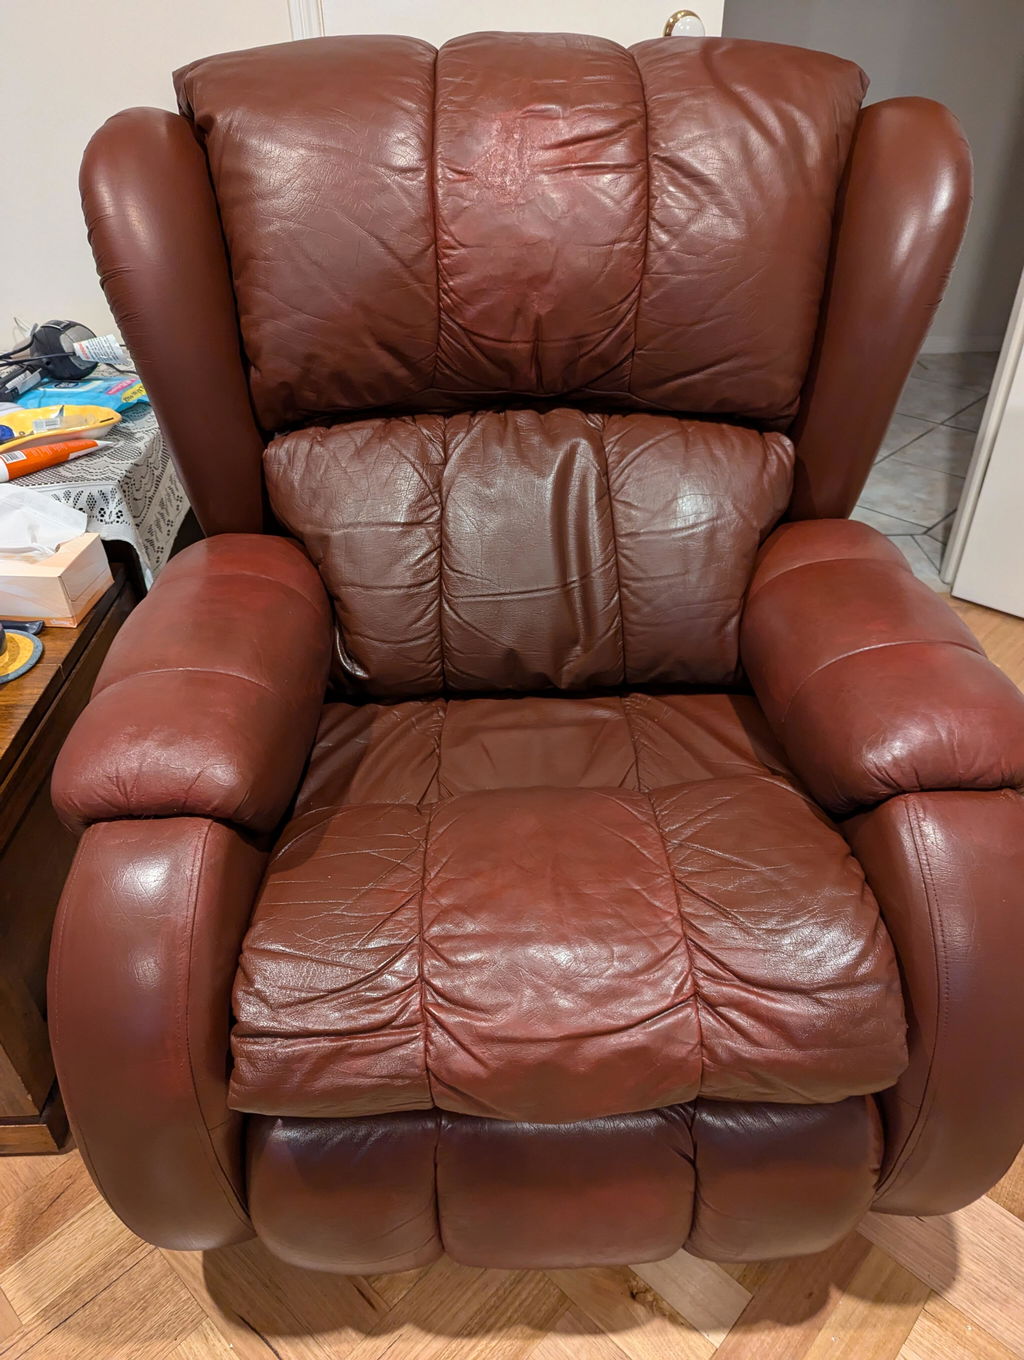
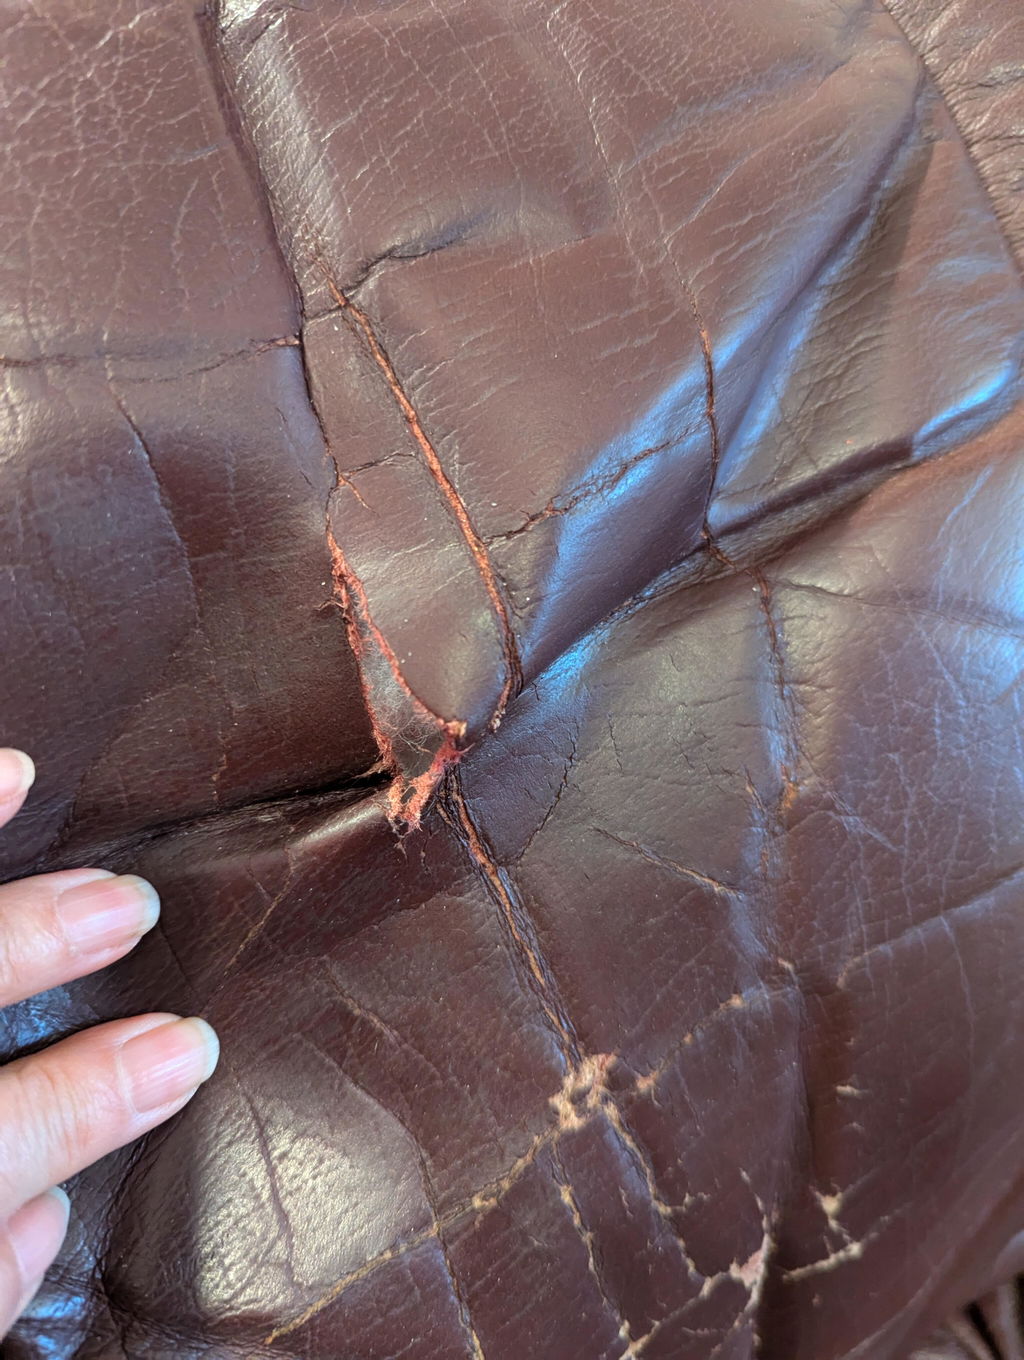
Had to take all parts apart but well worth the effort. Best to overdue the prep stages for best results.
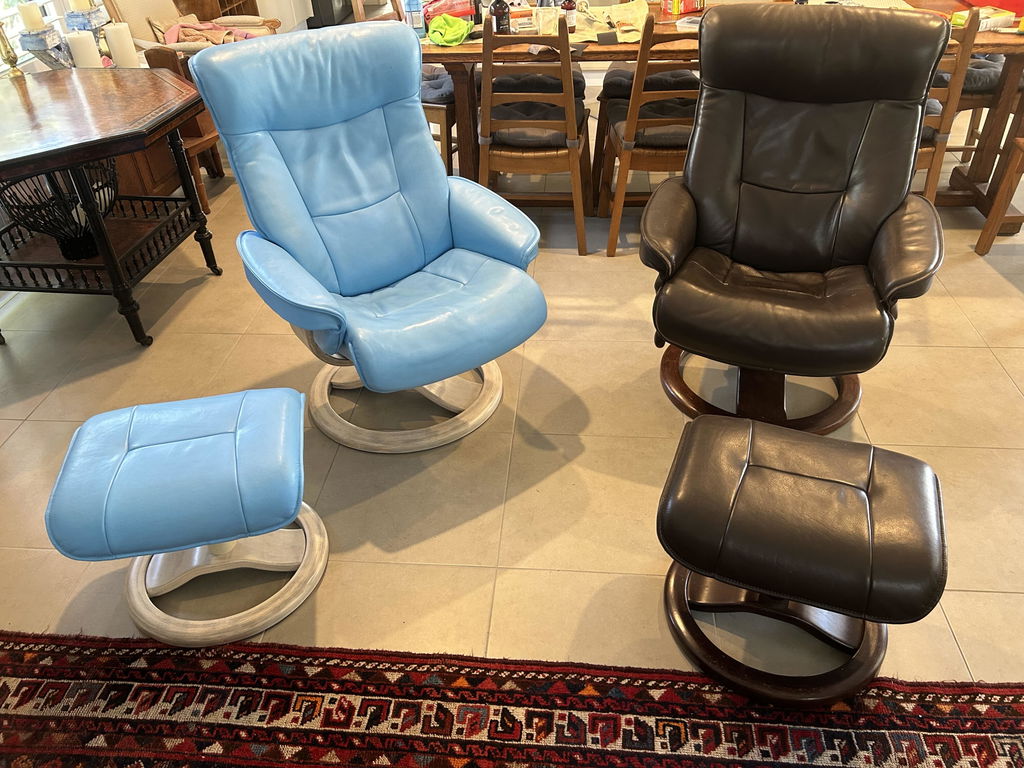
Yes, Yes, Yes, prep is vital. Thank you for doing such a beautiful job with our product. That blue is gorgeous!
I'm half way through turning a dated and very worn yellow leather lounge suite into a brand new looking blue (Regency) suite. So pleased with the Leather Hero products.
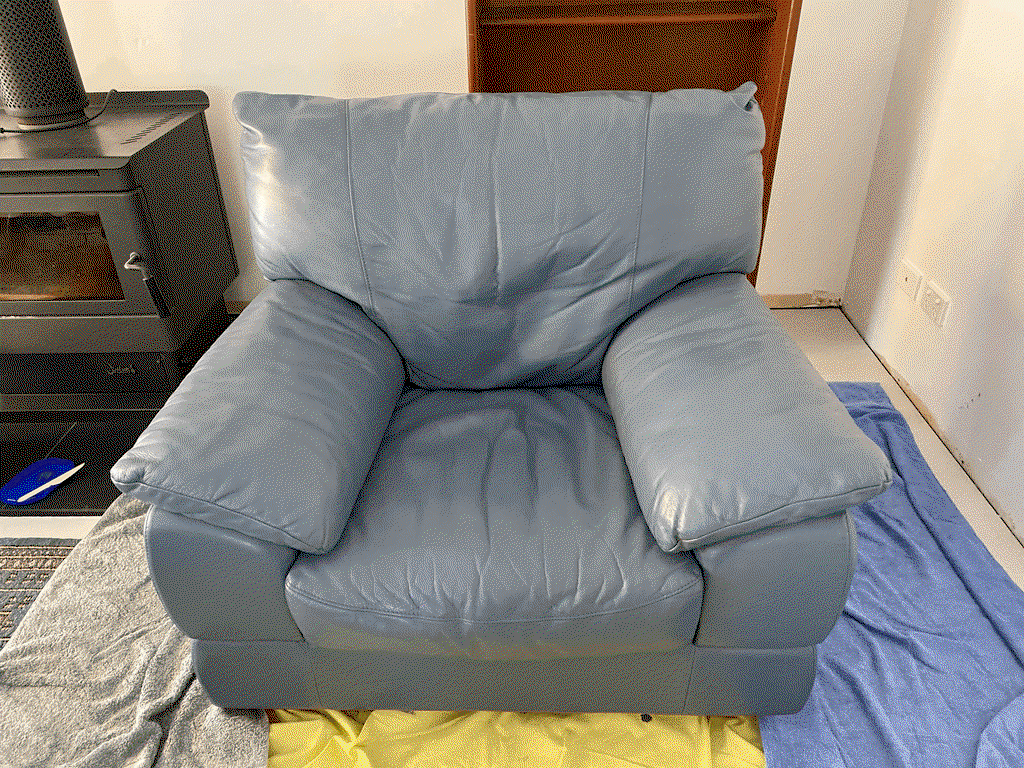
Wow, Judith, your chair looks fantastic! Well done and thank you for taking the time to share your feedback and pics.