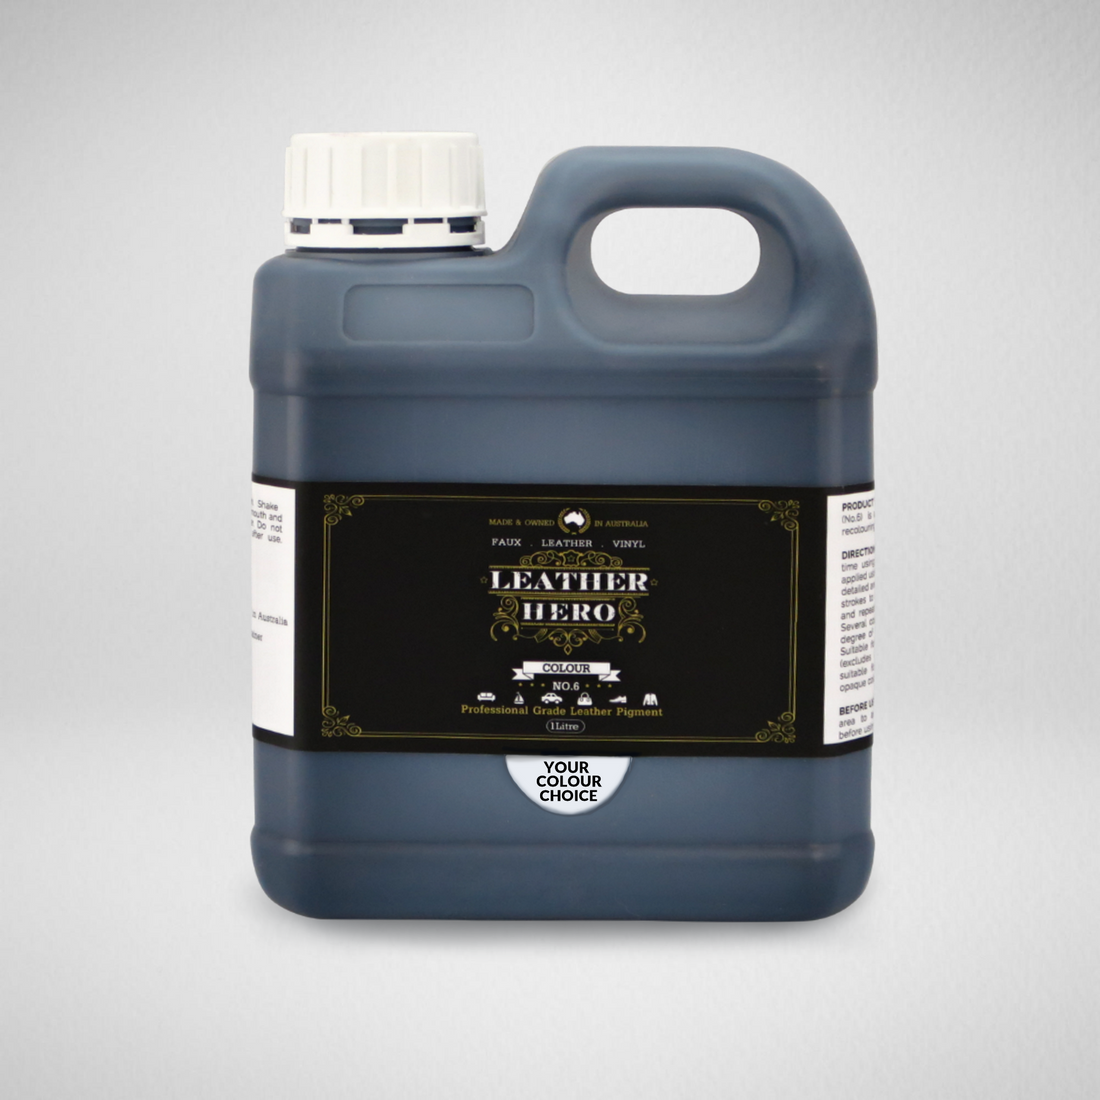
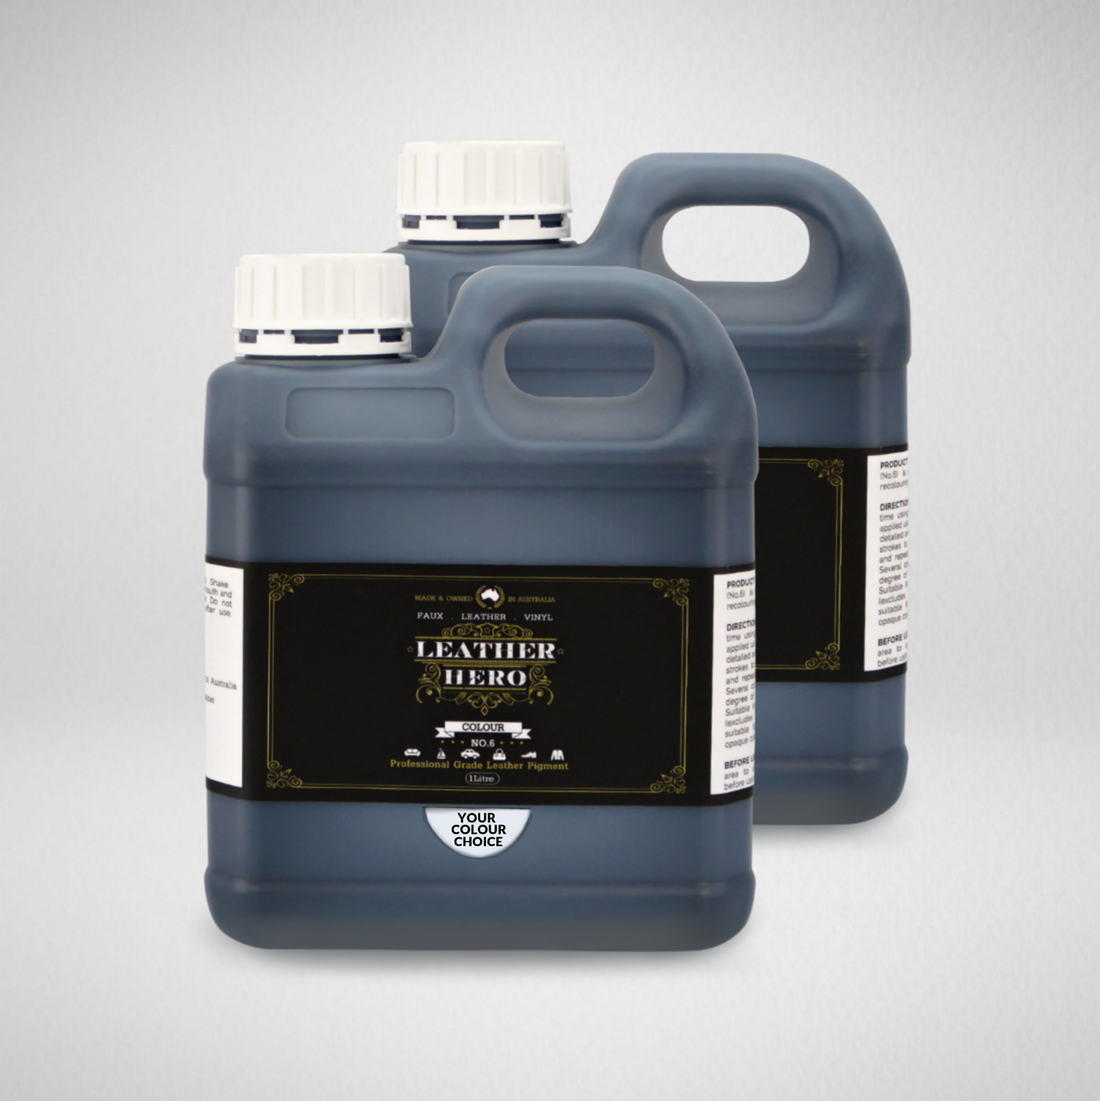
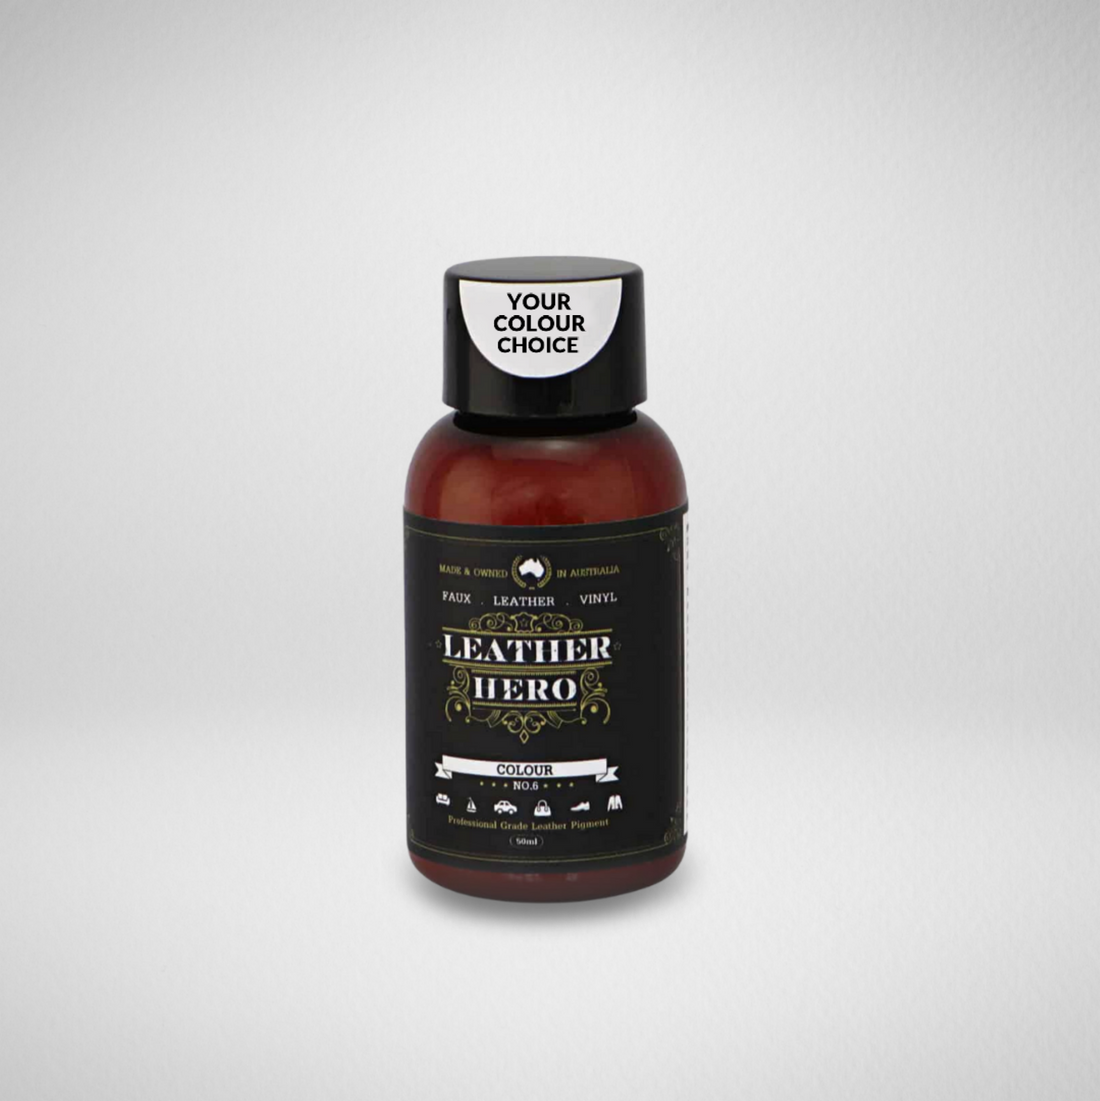
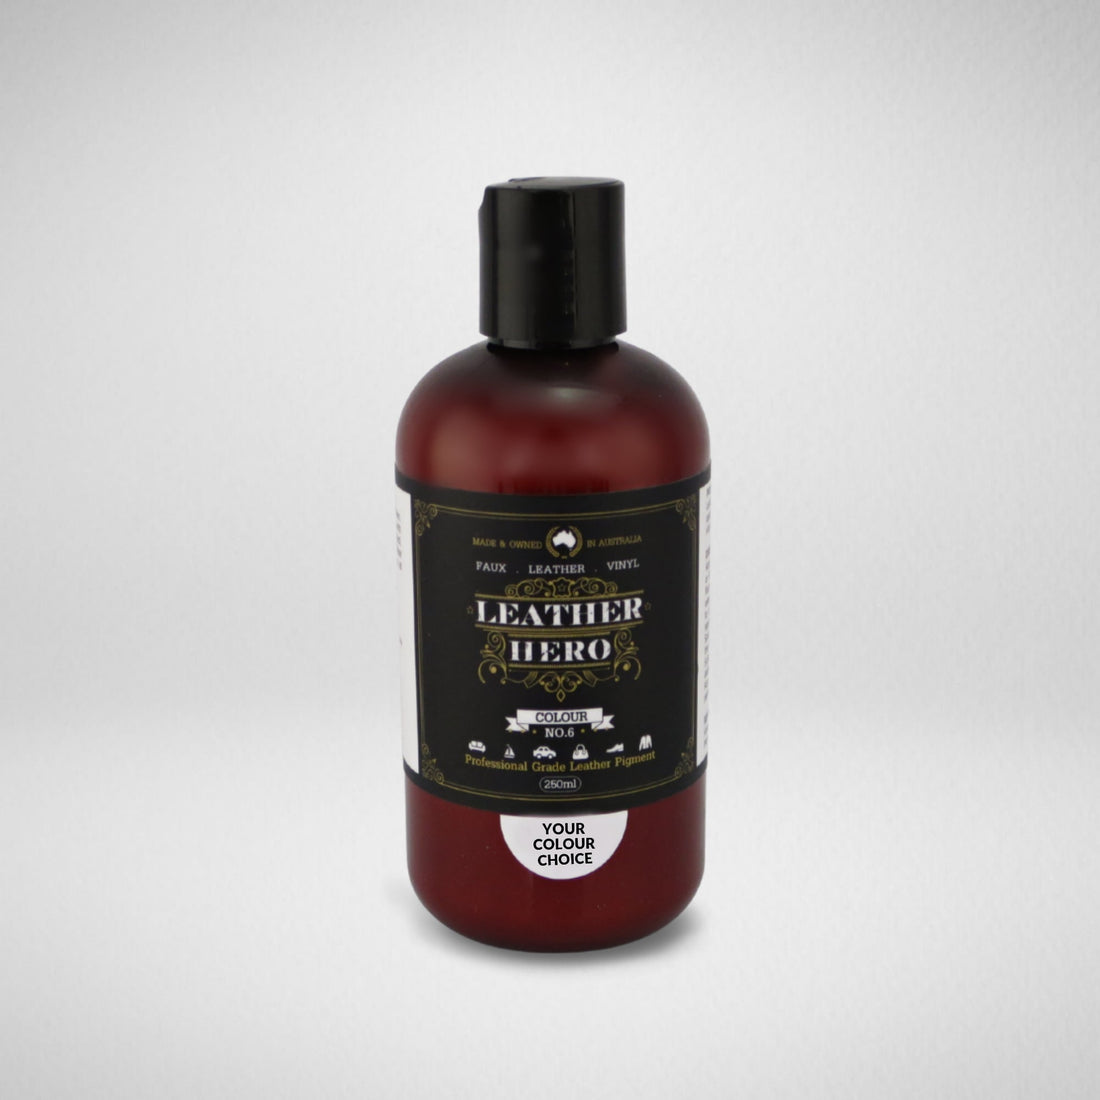
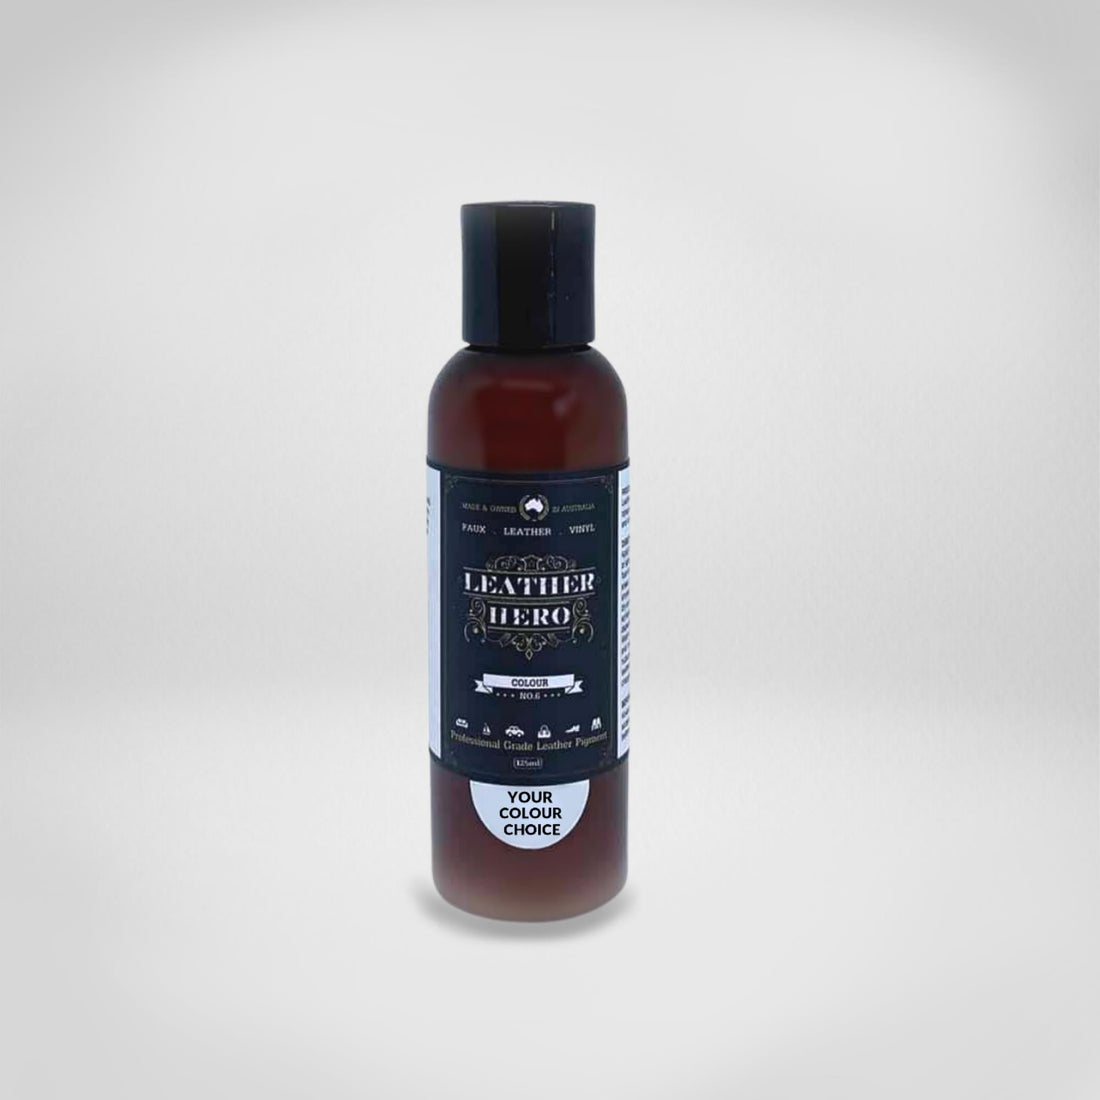
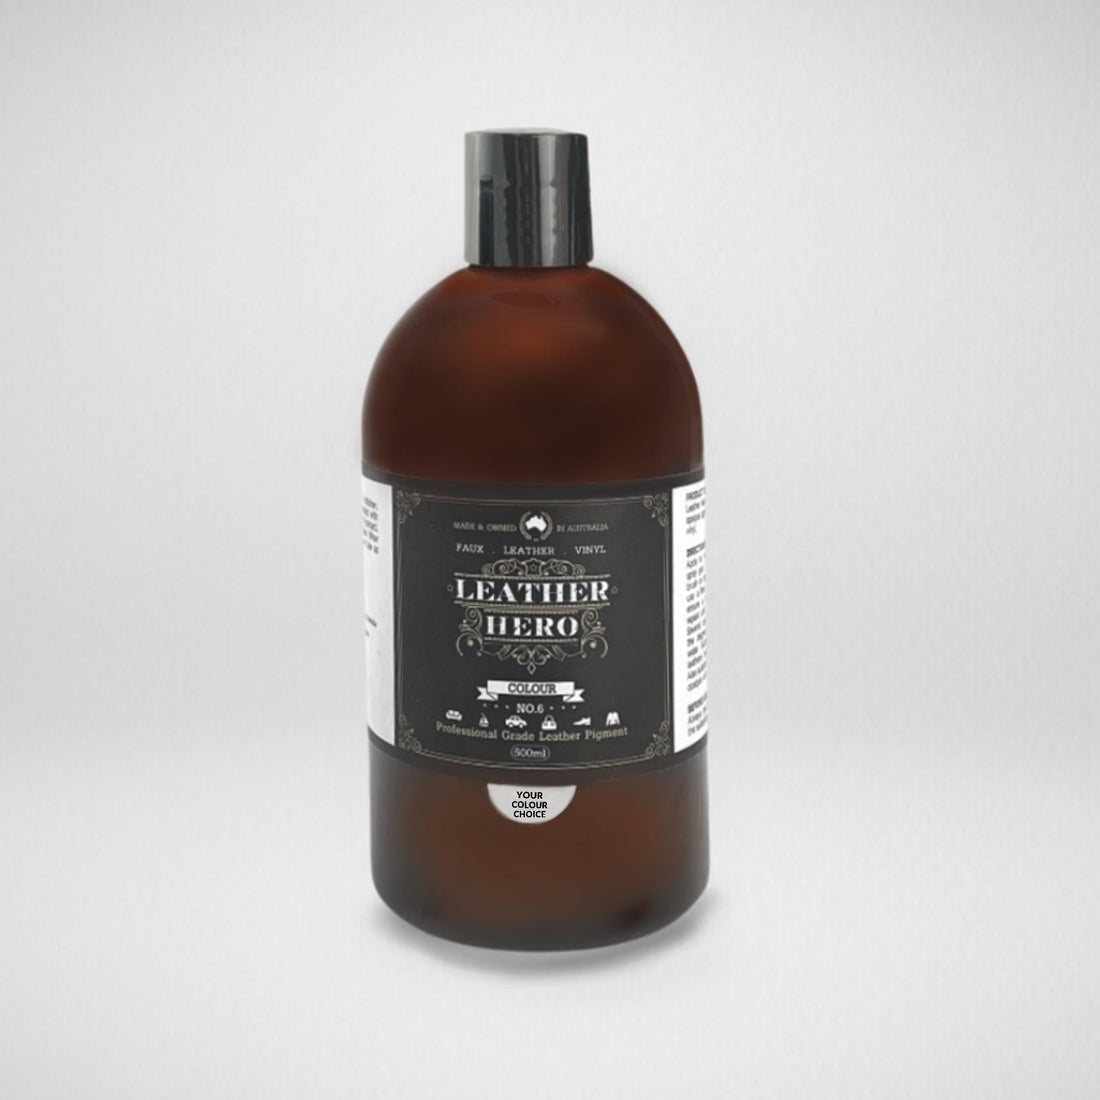
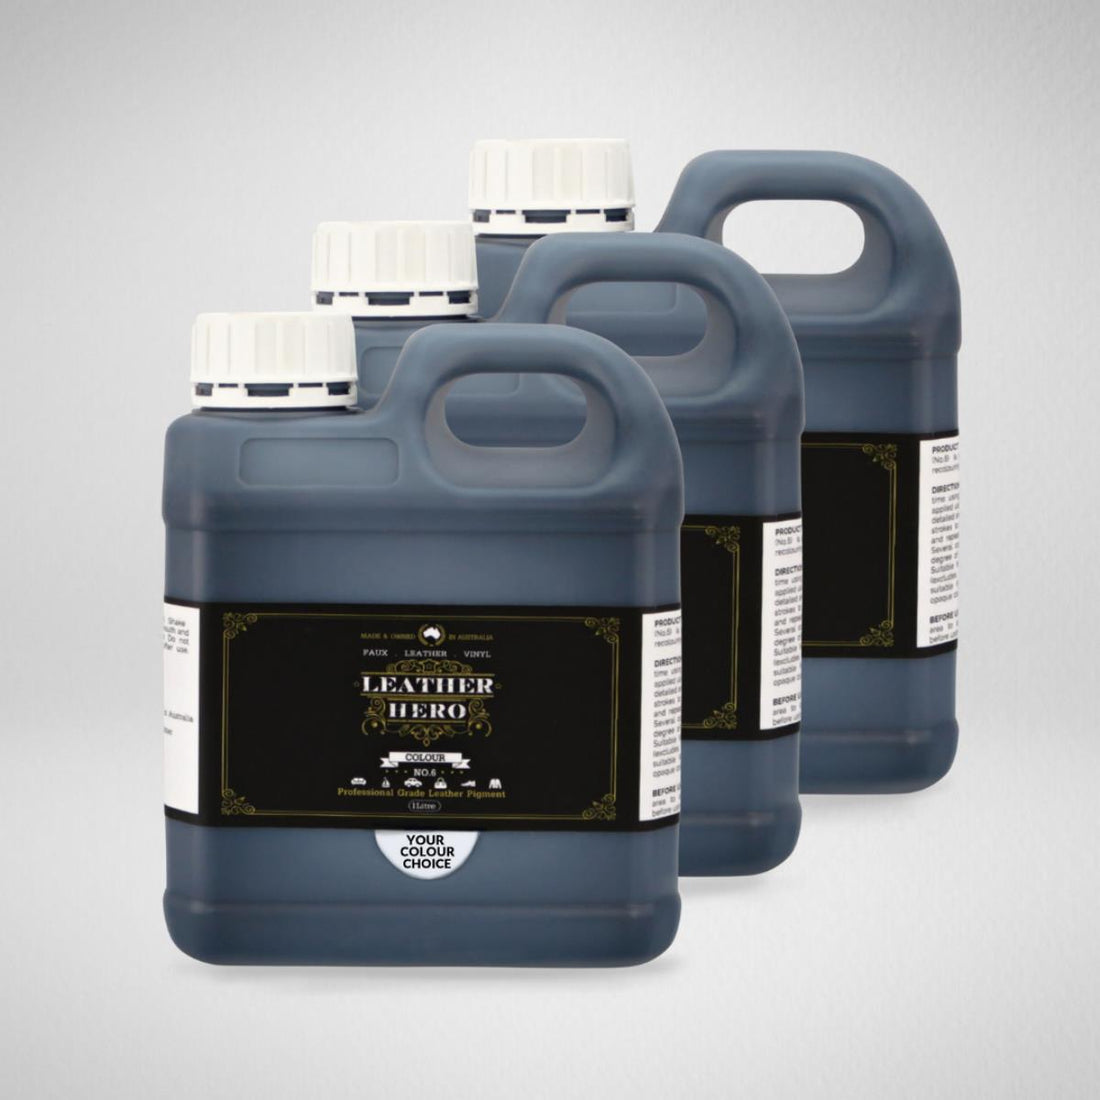


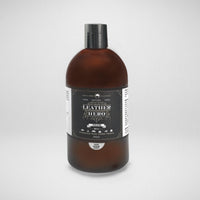


Leather Paint - Ochre
Colour (No.6)
This is a tannery standard leather colourant. It let's you recoat over stains, repairs, and colour wear. It gives full coverage, which means you can recoat in the same colour or a new one. Self-sealing, rub-resistant and colour-fast, it produces a sleek, satin show-room finish just like the original finish on your pigmented leather.
- Full coverage concentrated leather pigment
- Flexible coating with excellent adhesion and wear properties
- Available in 85 premixed colours; Australia's largest range
- Durable, self-sealing and won't rub off onto clothing
- Formulated for pigmented (painted/coated) leathers and can be used on most other types
- Suitable for use over leather glue and filler
- Water-based, fast drying, non-toxic, Australian made and used by professionals
- Apply by sponge, spray gun, brush or foam roller to prepped leather
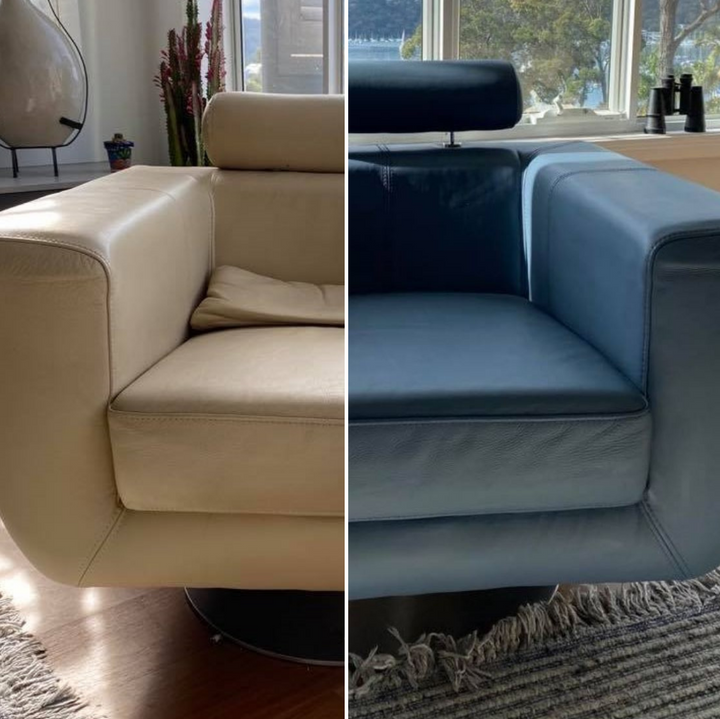
- Colours can be mixed to create your own colour
- Best used in conjunction with correct surface prep, primer and a protective topcoat
- Recommended for use in conjunction with a Repair & Recolour Kit
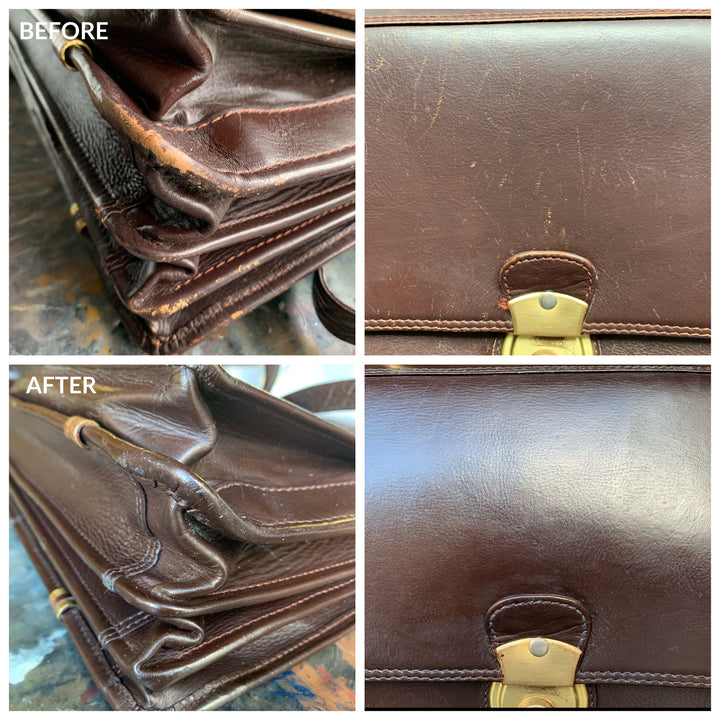
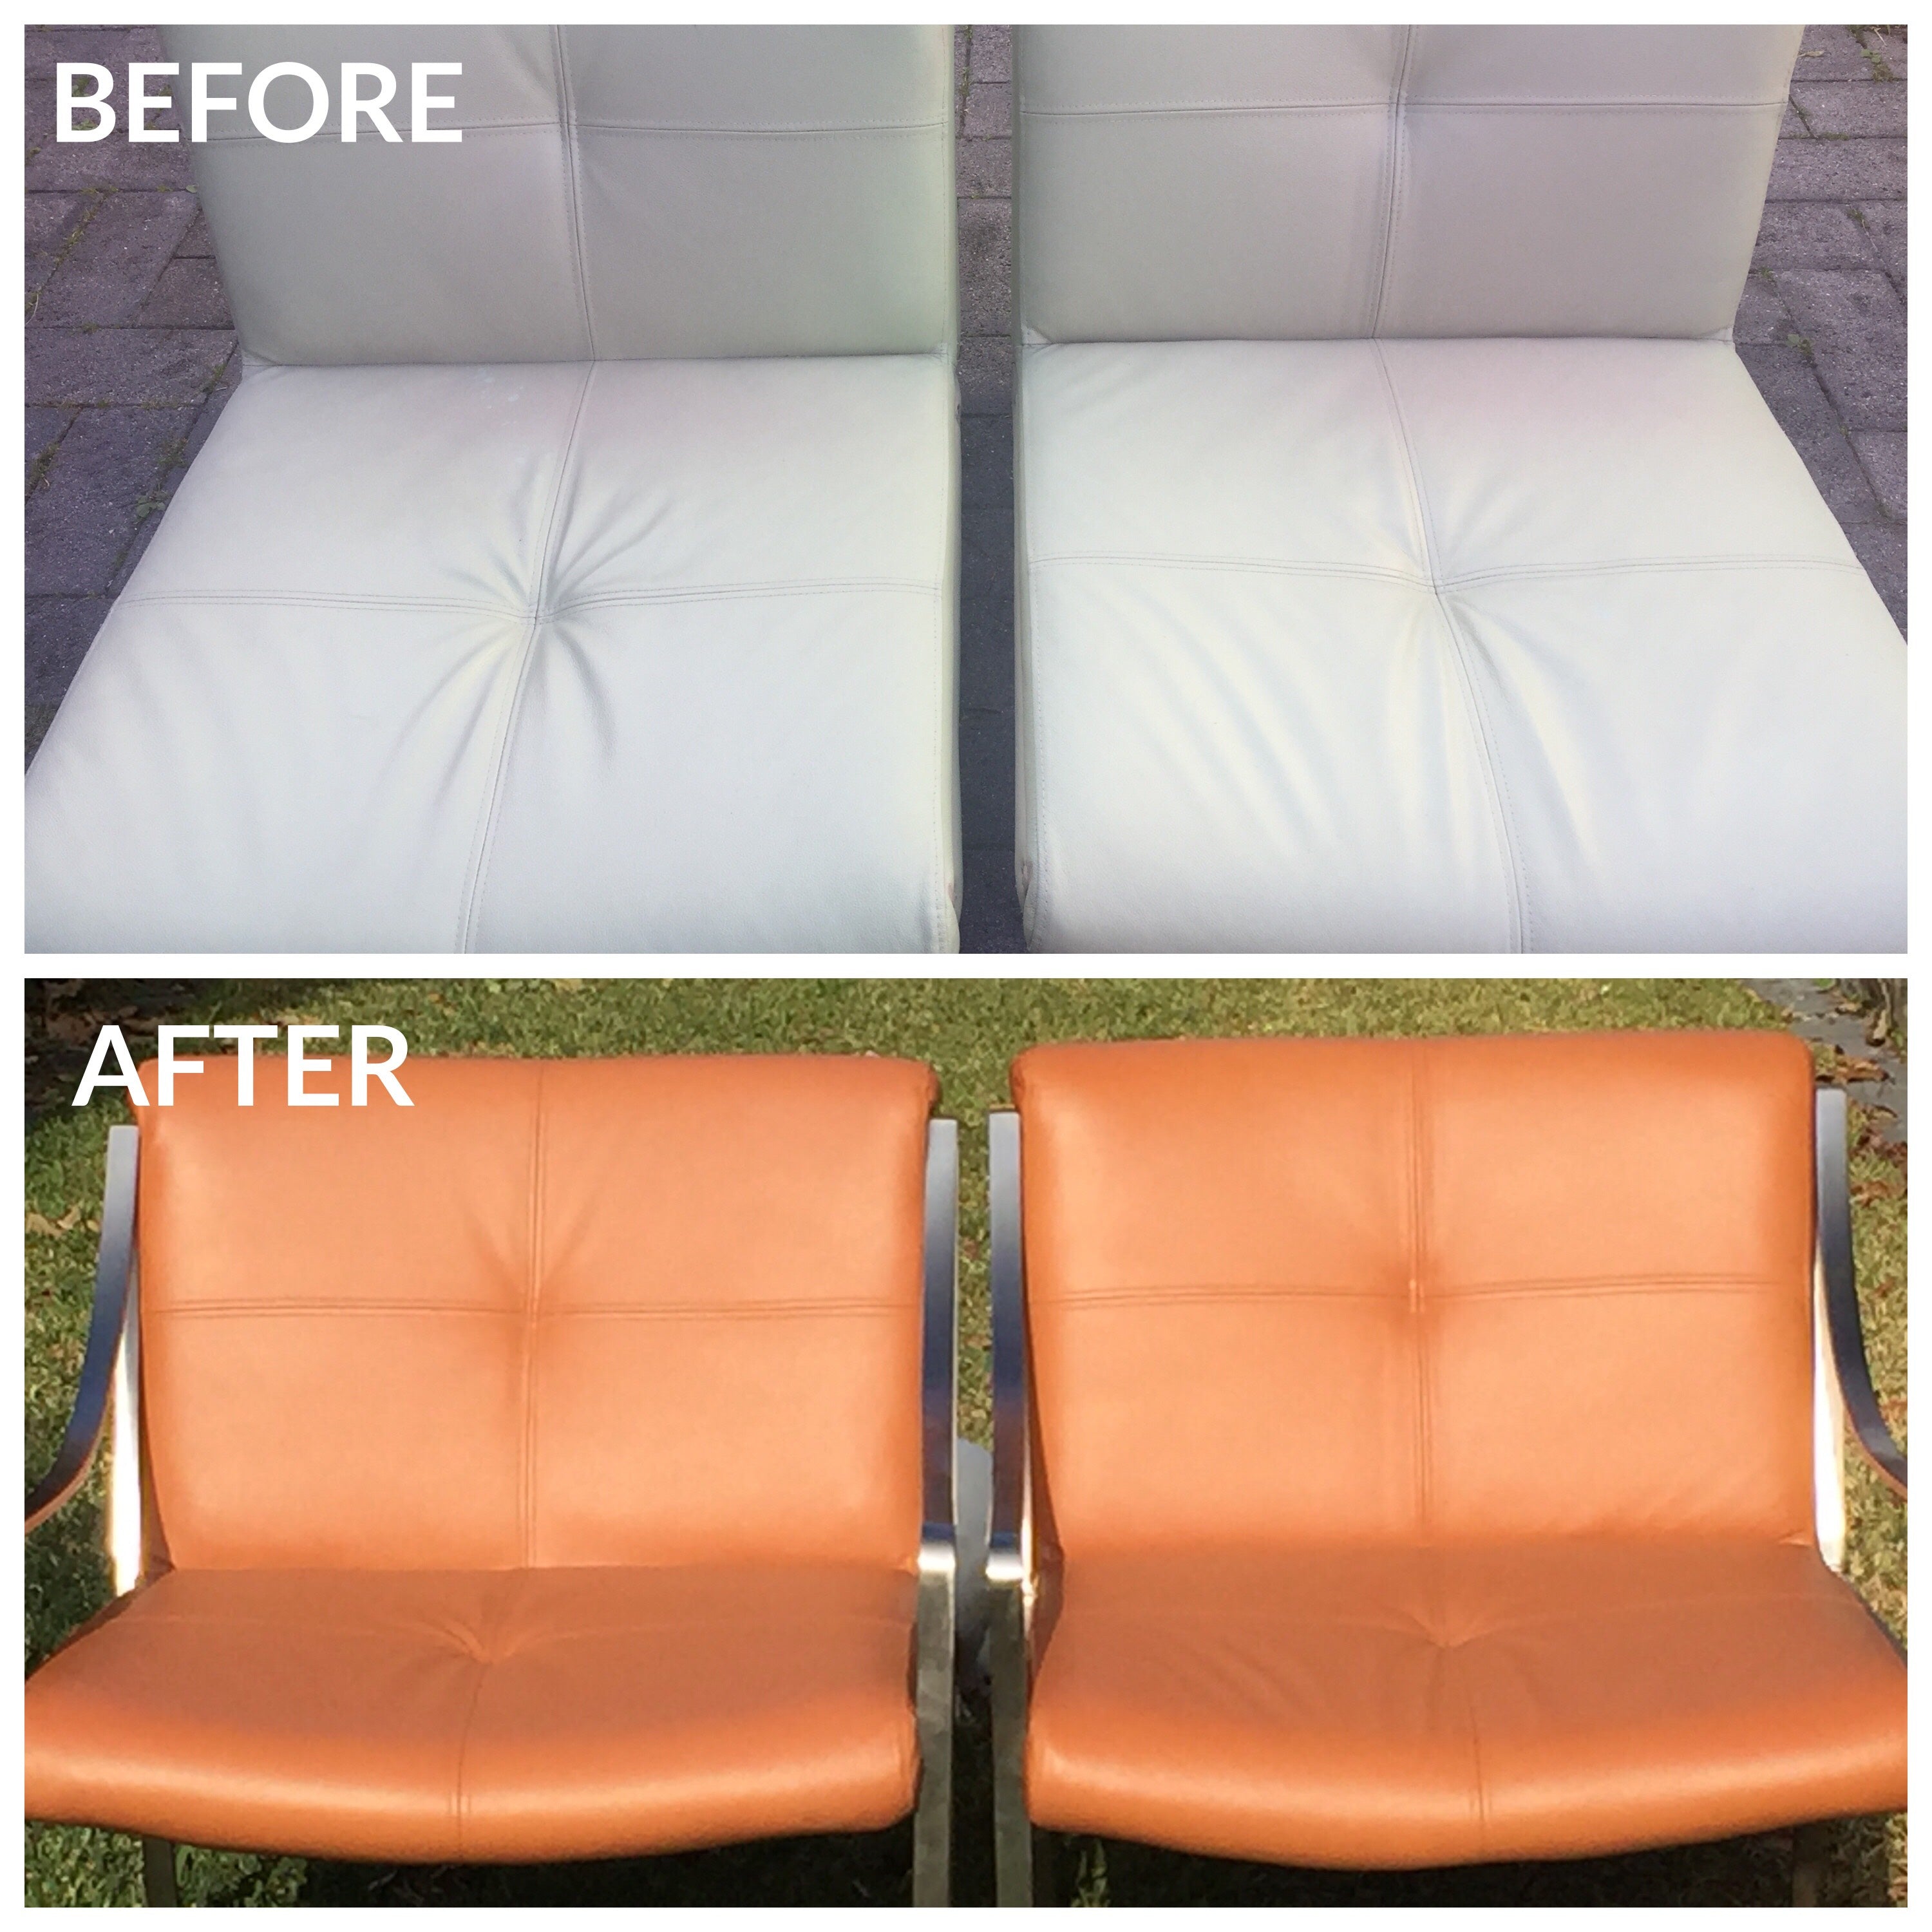
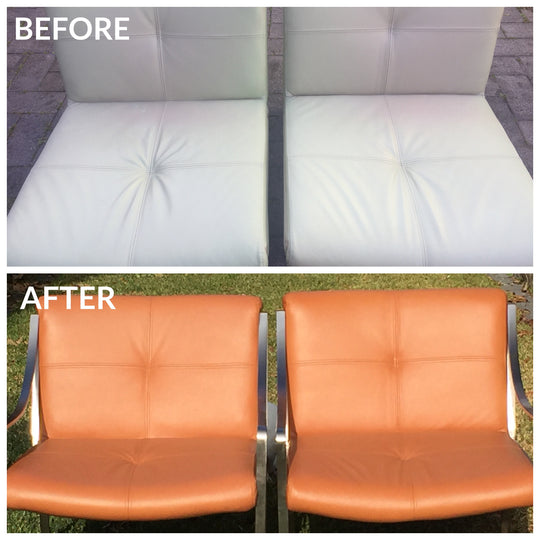
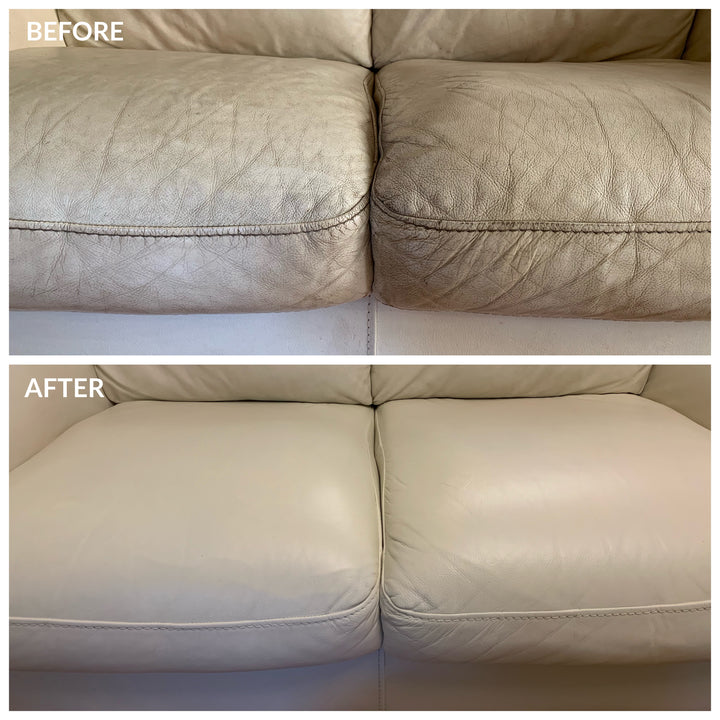
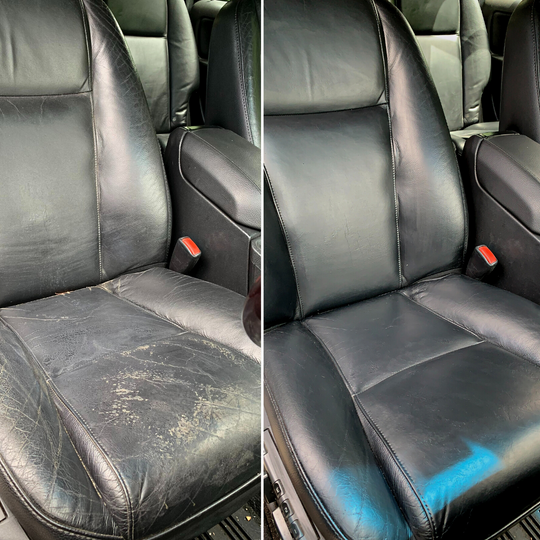
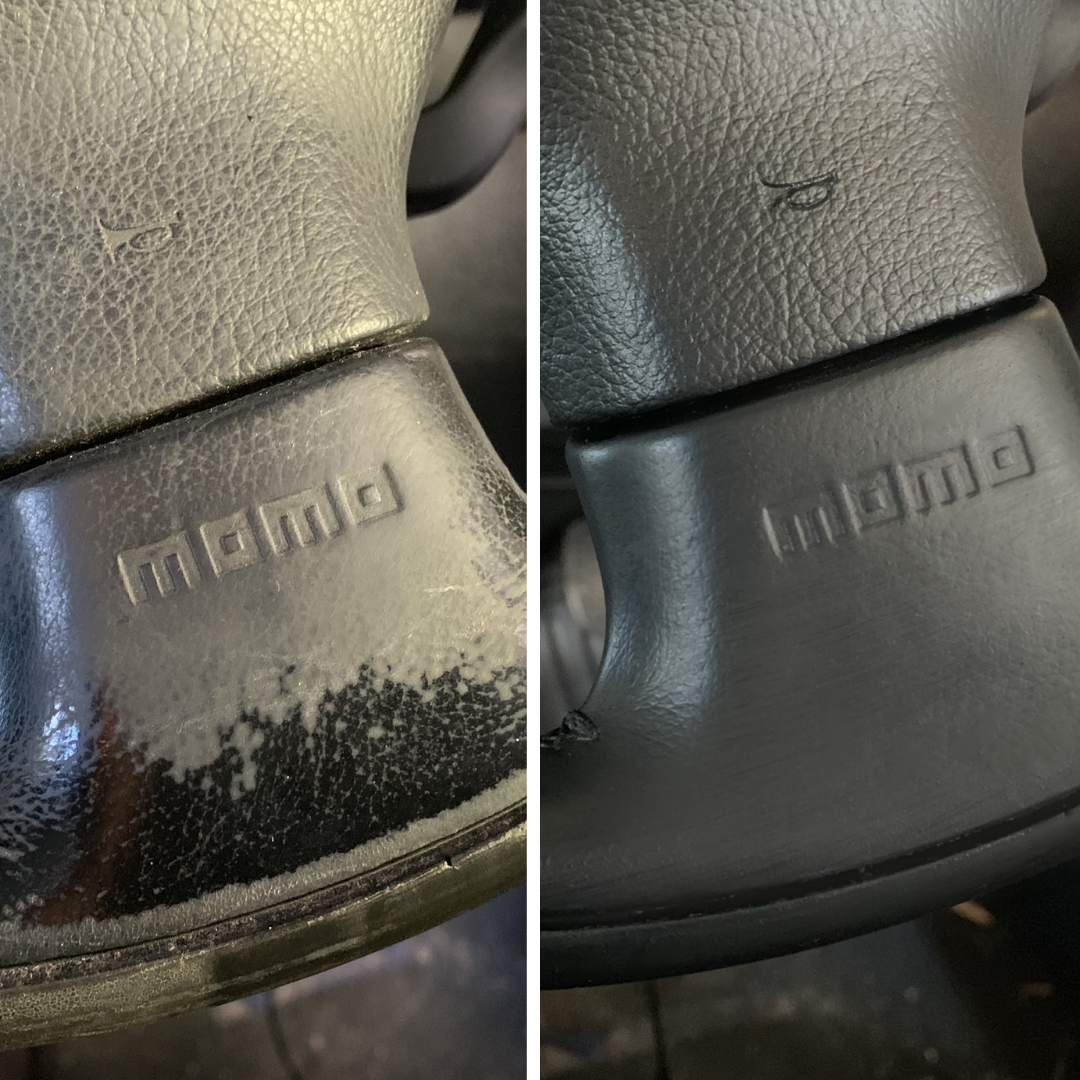
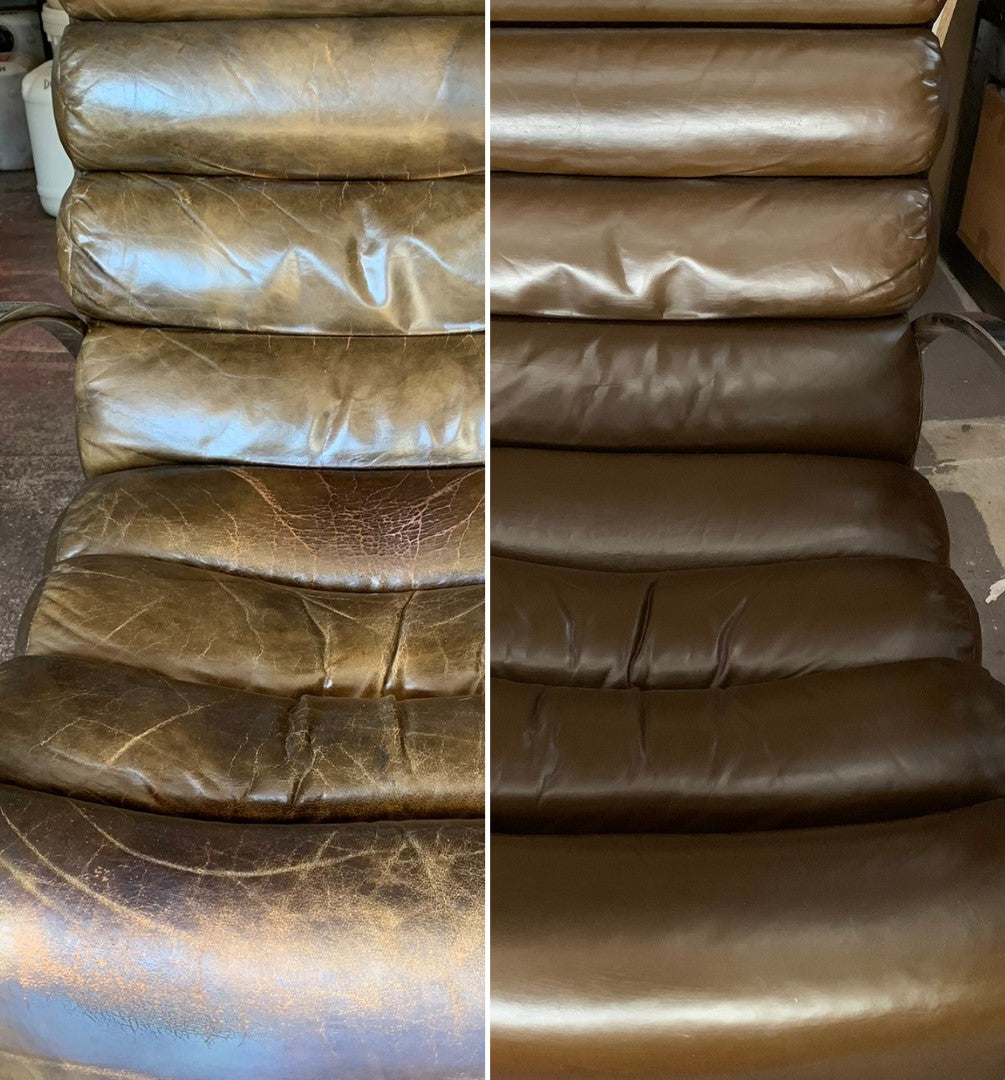
Recoat old, worn, stained coatings and conceal repairs
When accidents happen and wear and tear takes a toll, refinishing worn coatings and filled repairs can dramatically revamp the look of your leather.
Don't be afraid of the word 'paint'.
This colourant is often referred to as 'leather dye'. Dyes and paints are different and whilst some leathers are dyed, most furniture and all car leathers are painted. If your leather is a solid, block colour such as white, beige, or red for example, it is coloured with leather paint.
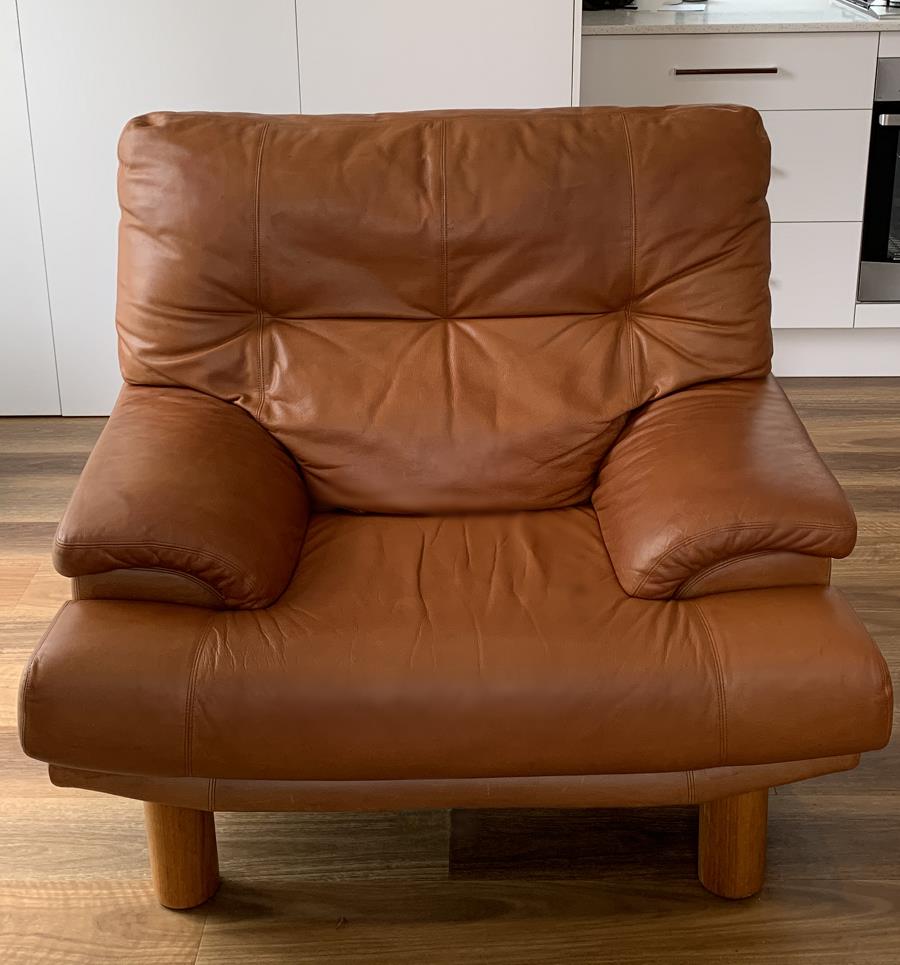
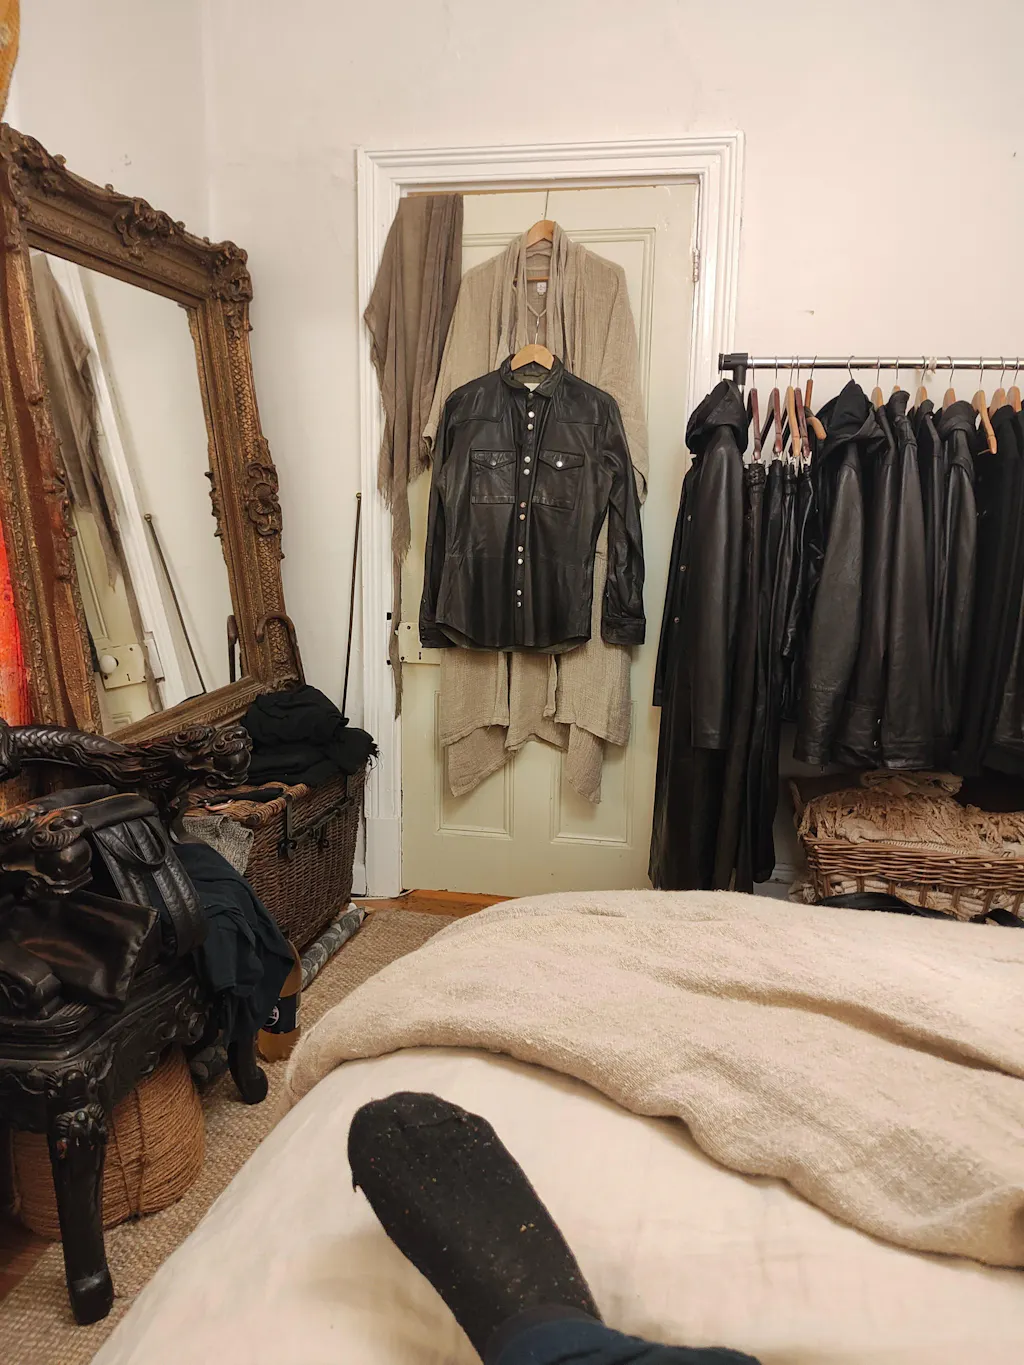
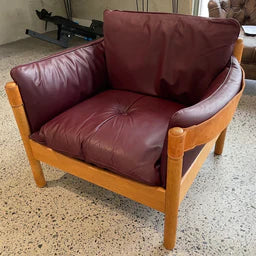
For sofas, cars, apparel, bags and lots of other leather
From small touch-ups on your car seats to recoating your steering wheel, to changing the colour of an occasional chair or recolouring an entire lounge suite, this product has a wide range of applications.
The hero of our tannery grade refinishing system
When your pigmented leather was made, it was coated with primer, colour and topcoat. By using the same layering process, a beautiful, wear-resistant transformation is possible.
Colour & sheen
Sample Pots are ideal for testing colours on your leather.
Colours prefixed with the word 'Aniline' are leather paints with a small proportion of dyes. They give a somewhat semi-aniline look. Note that paints are UV stable whilst dyes are prone to fading in high UV environments.
The leather paint has a satin finish. You can make it flatter by adding Dulling Agent (No.30) or increase the shine by using Topcoat Gloss or High Gloss.
Want to know more about the products? Read through the info on this page then head to the How To library to learn more about choosing your colour and topcoat and how to use the products.
Need accessories for your job? Here they are.
Instructions: Print the Directions for Use, Tips and Details ![]()


Showroom finish
Restore worn coatings, cover stains and repairs, correct colour variations and dramatically improve the look of your leather car seats, furniture, apparel and more.
Full coverage lets you recoat in the same colour or a different colour.
Not sure which colour? Try a few out using Sample Pots.
Put back what the years have taken away
Wear and tear happens over time. Recoat the worn areas or the whole piece using the same system the professionals use and achieve beautiful results.
For a pro finish and optimal durability, use this Leather Paint after thorough surface prep with Spot & Prep (No.4) and Prime (No.5). Once dry, seal and protect it with clear Topcoat (No.7).
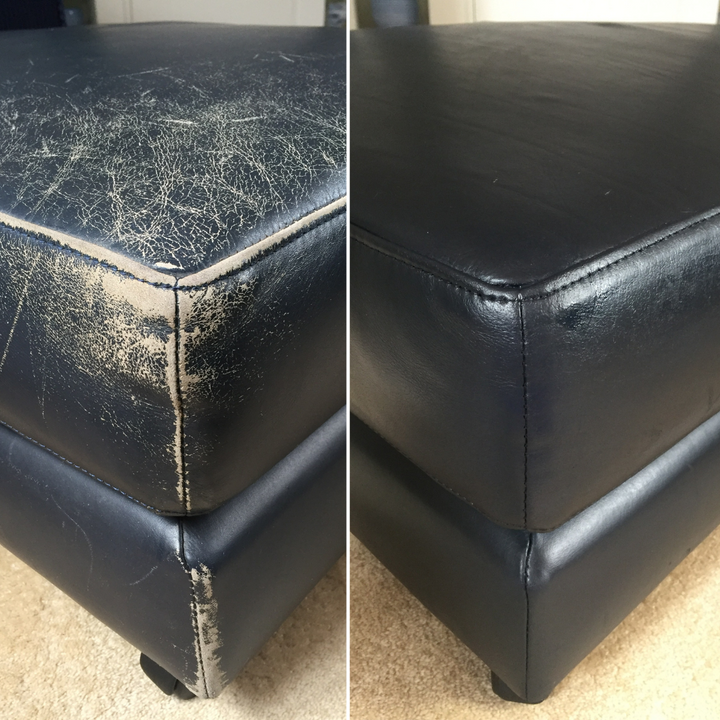
Before & Afters