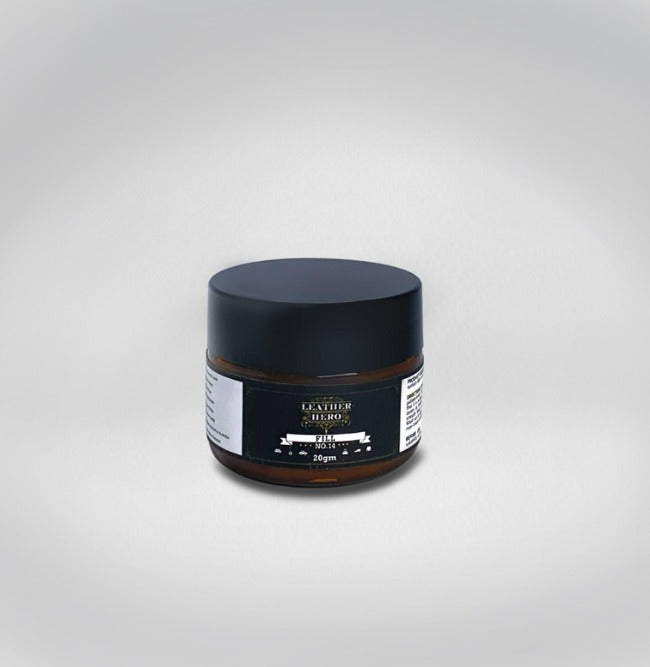


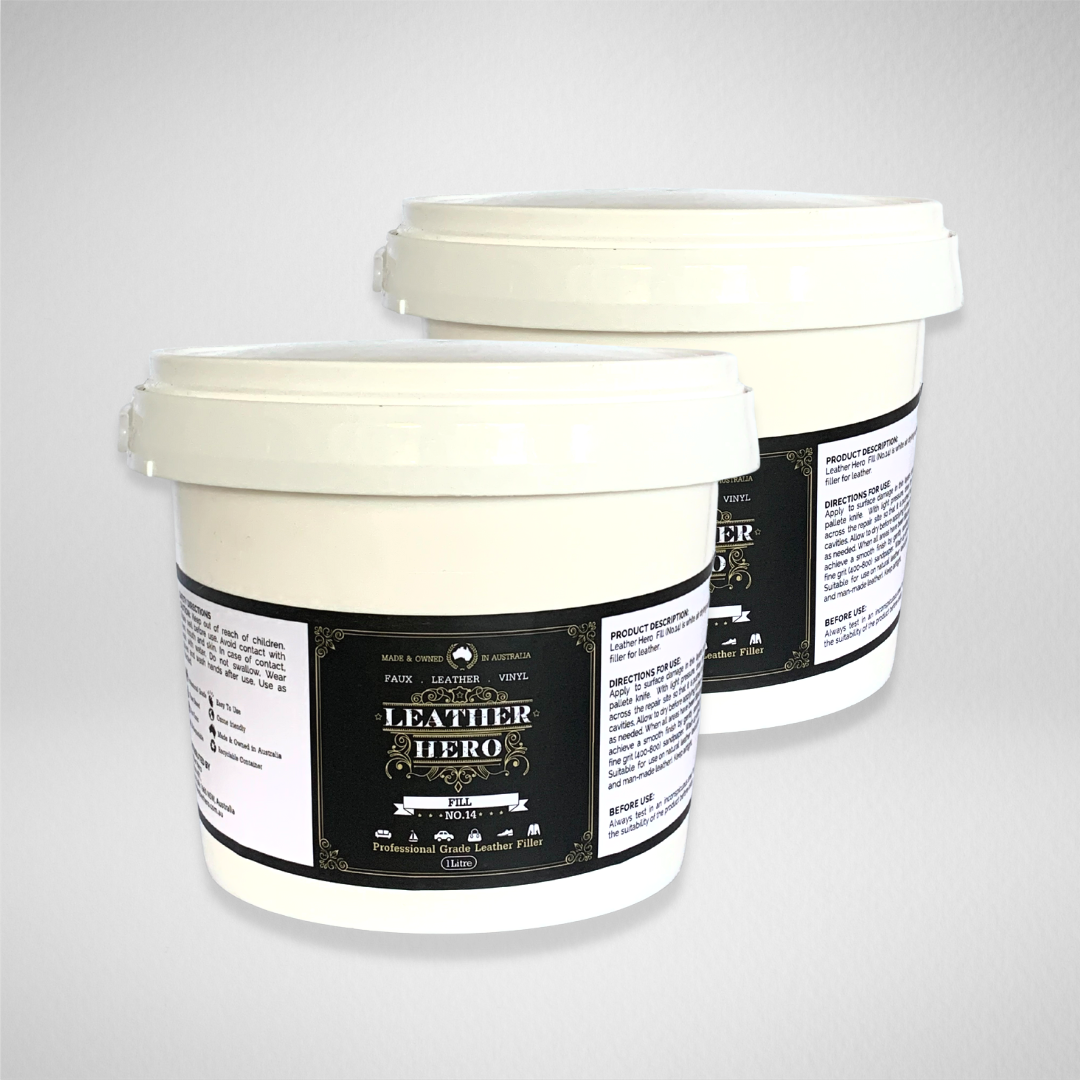


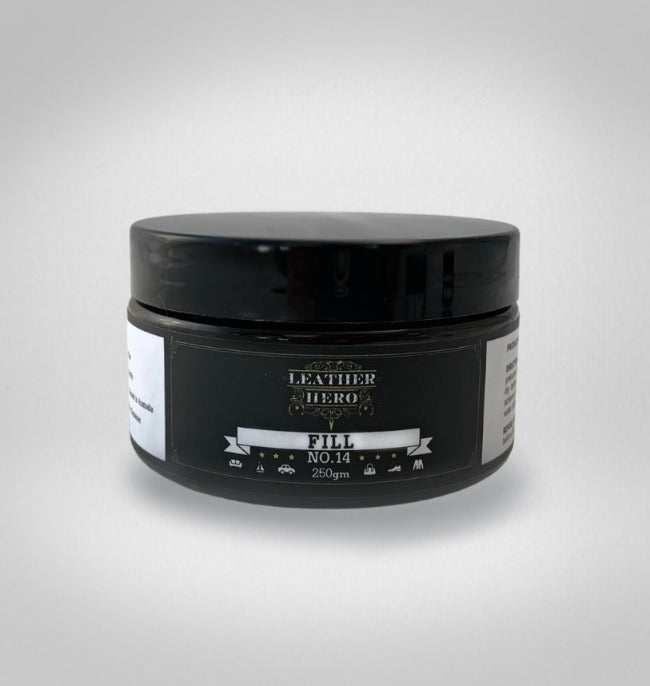


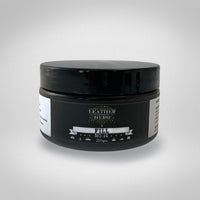


Leather Repair Surface Filler
Fill (No.14)
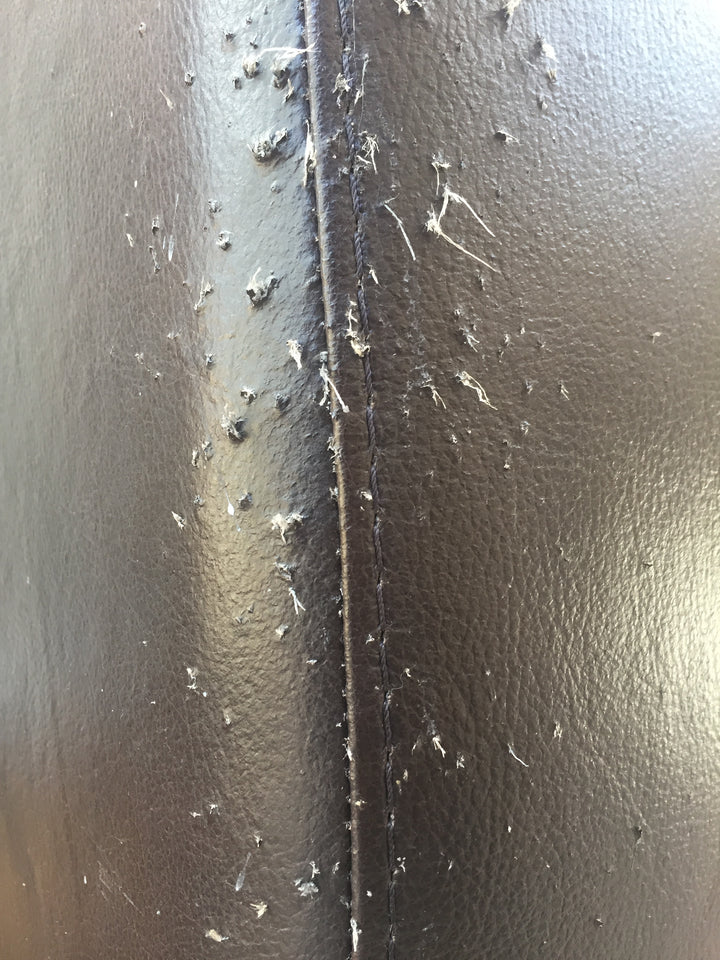
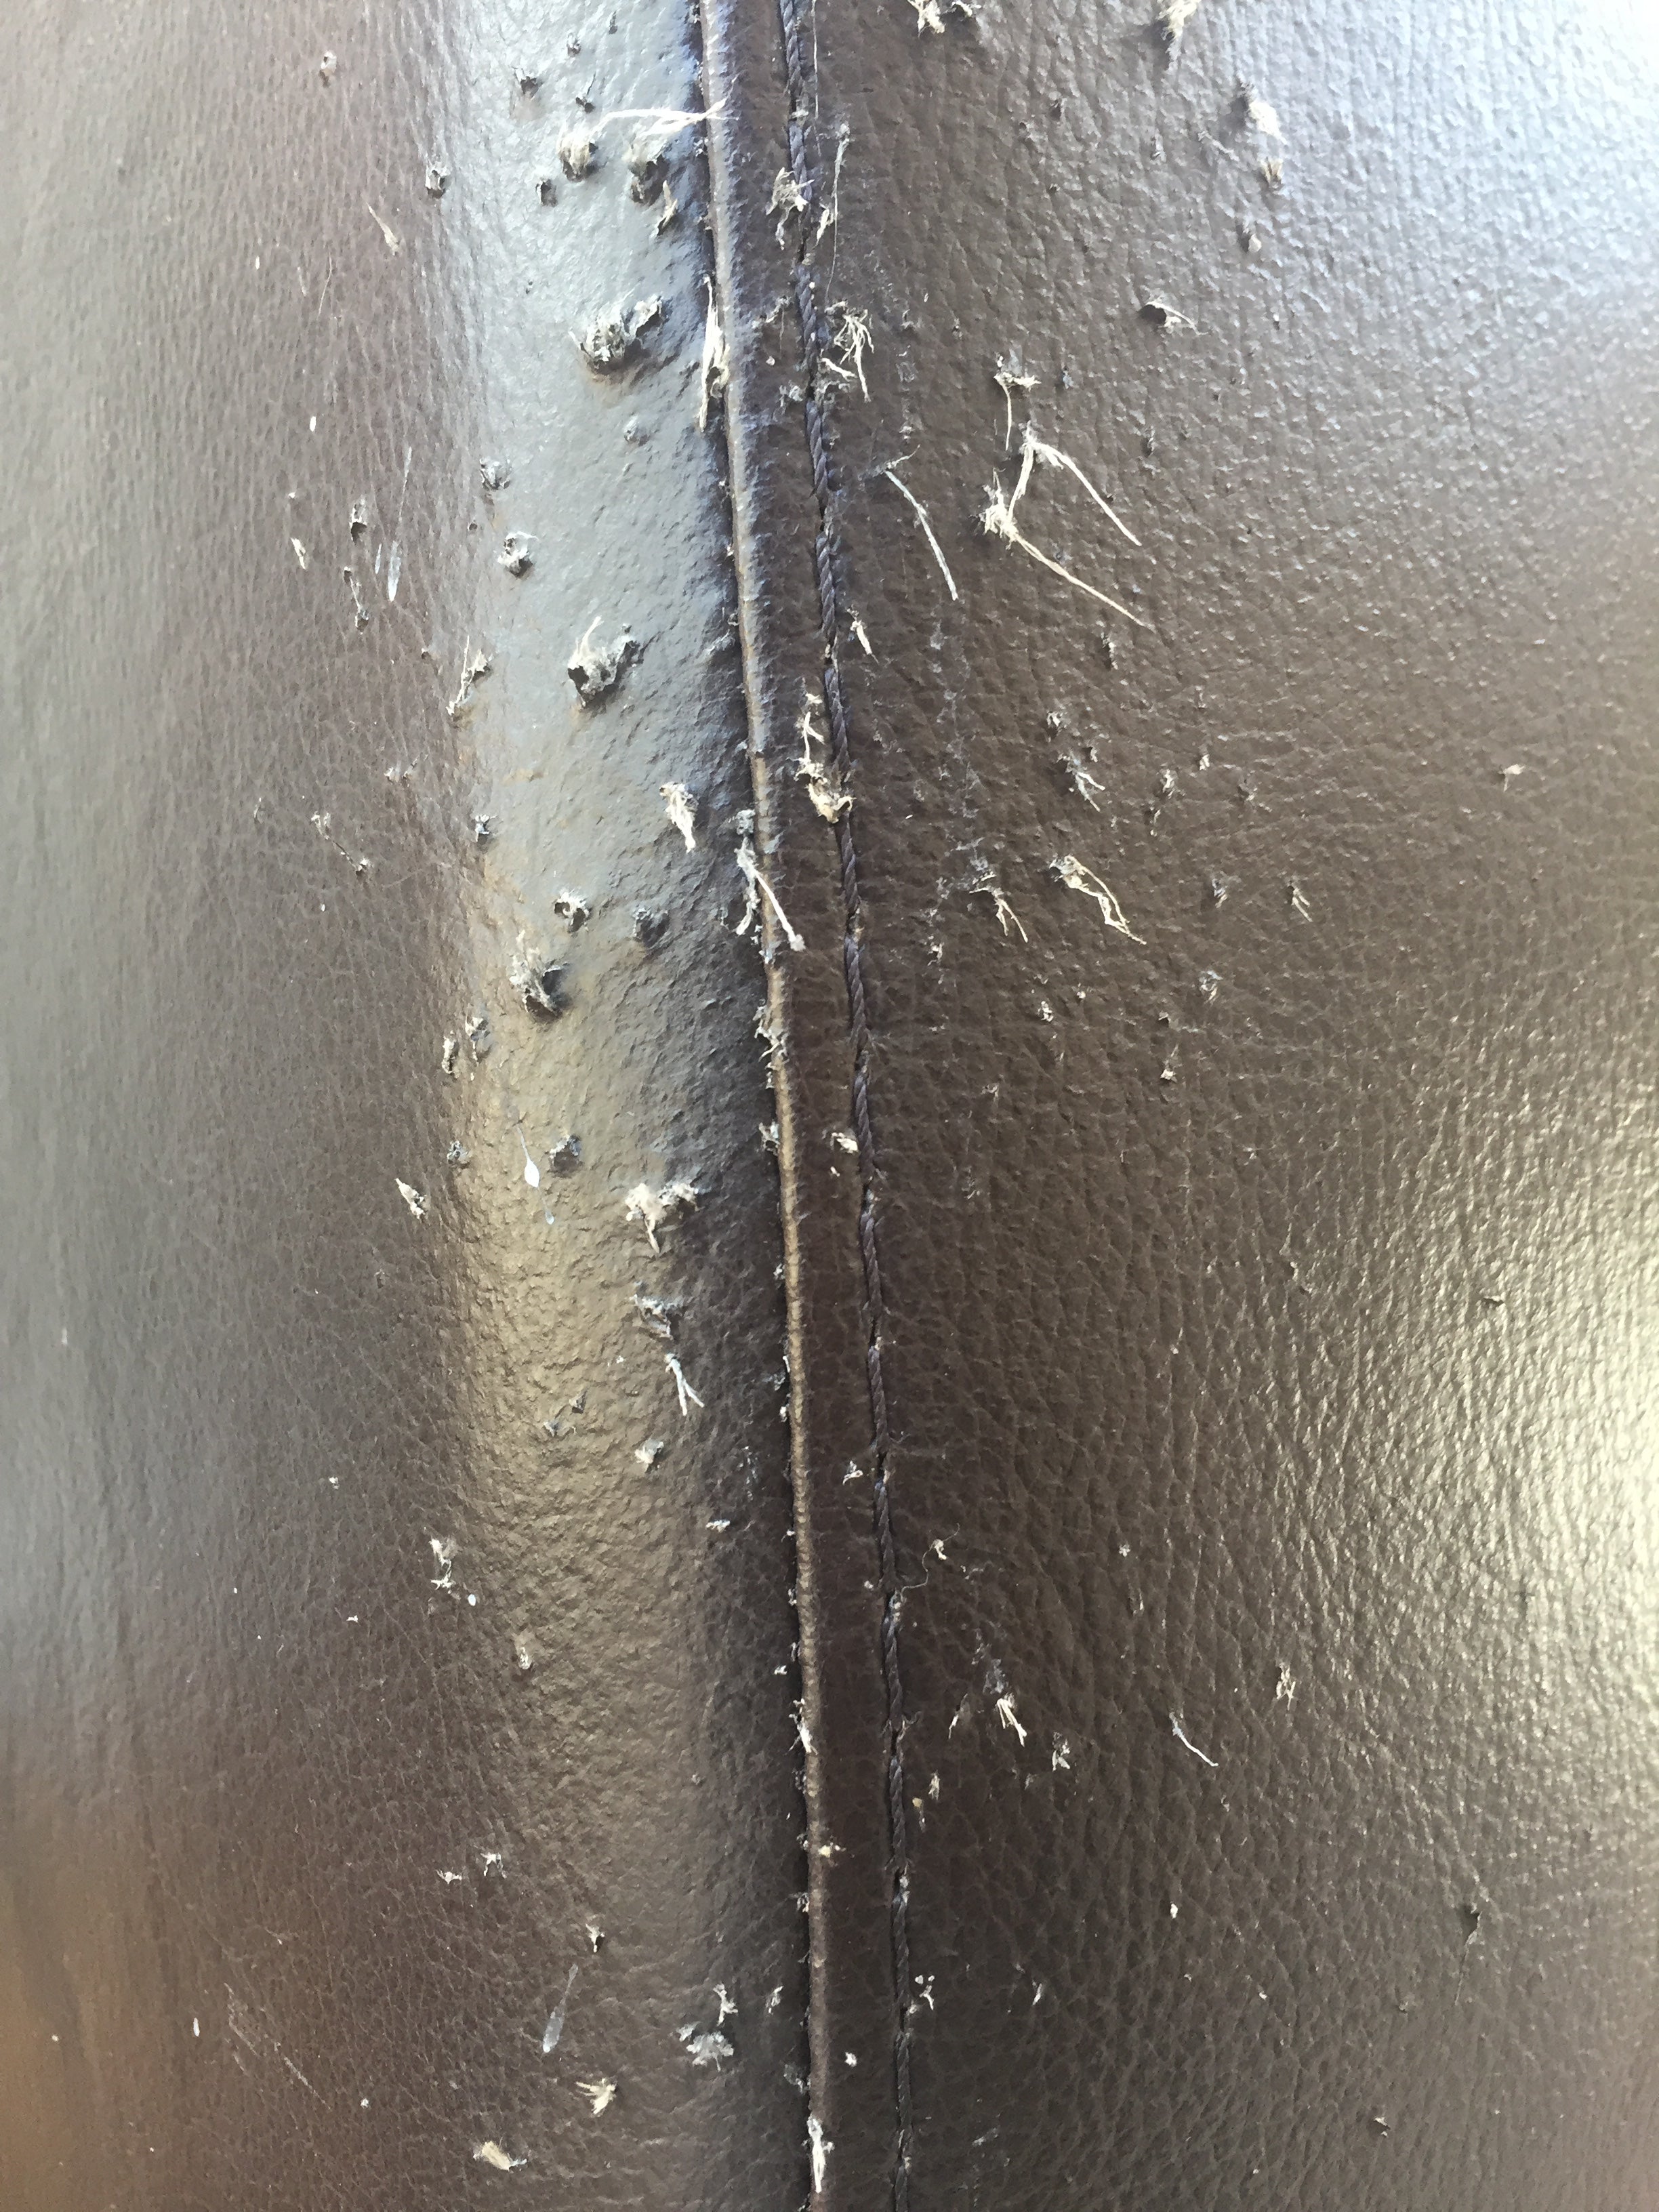
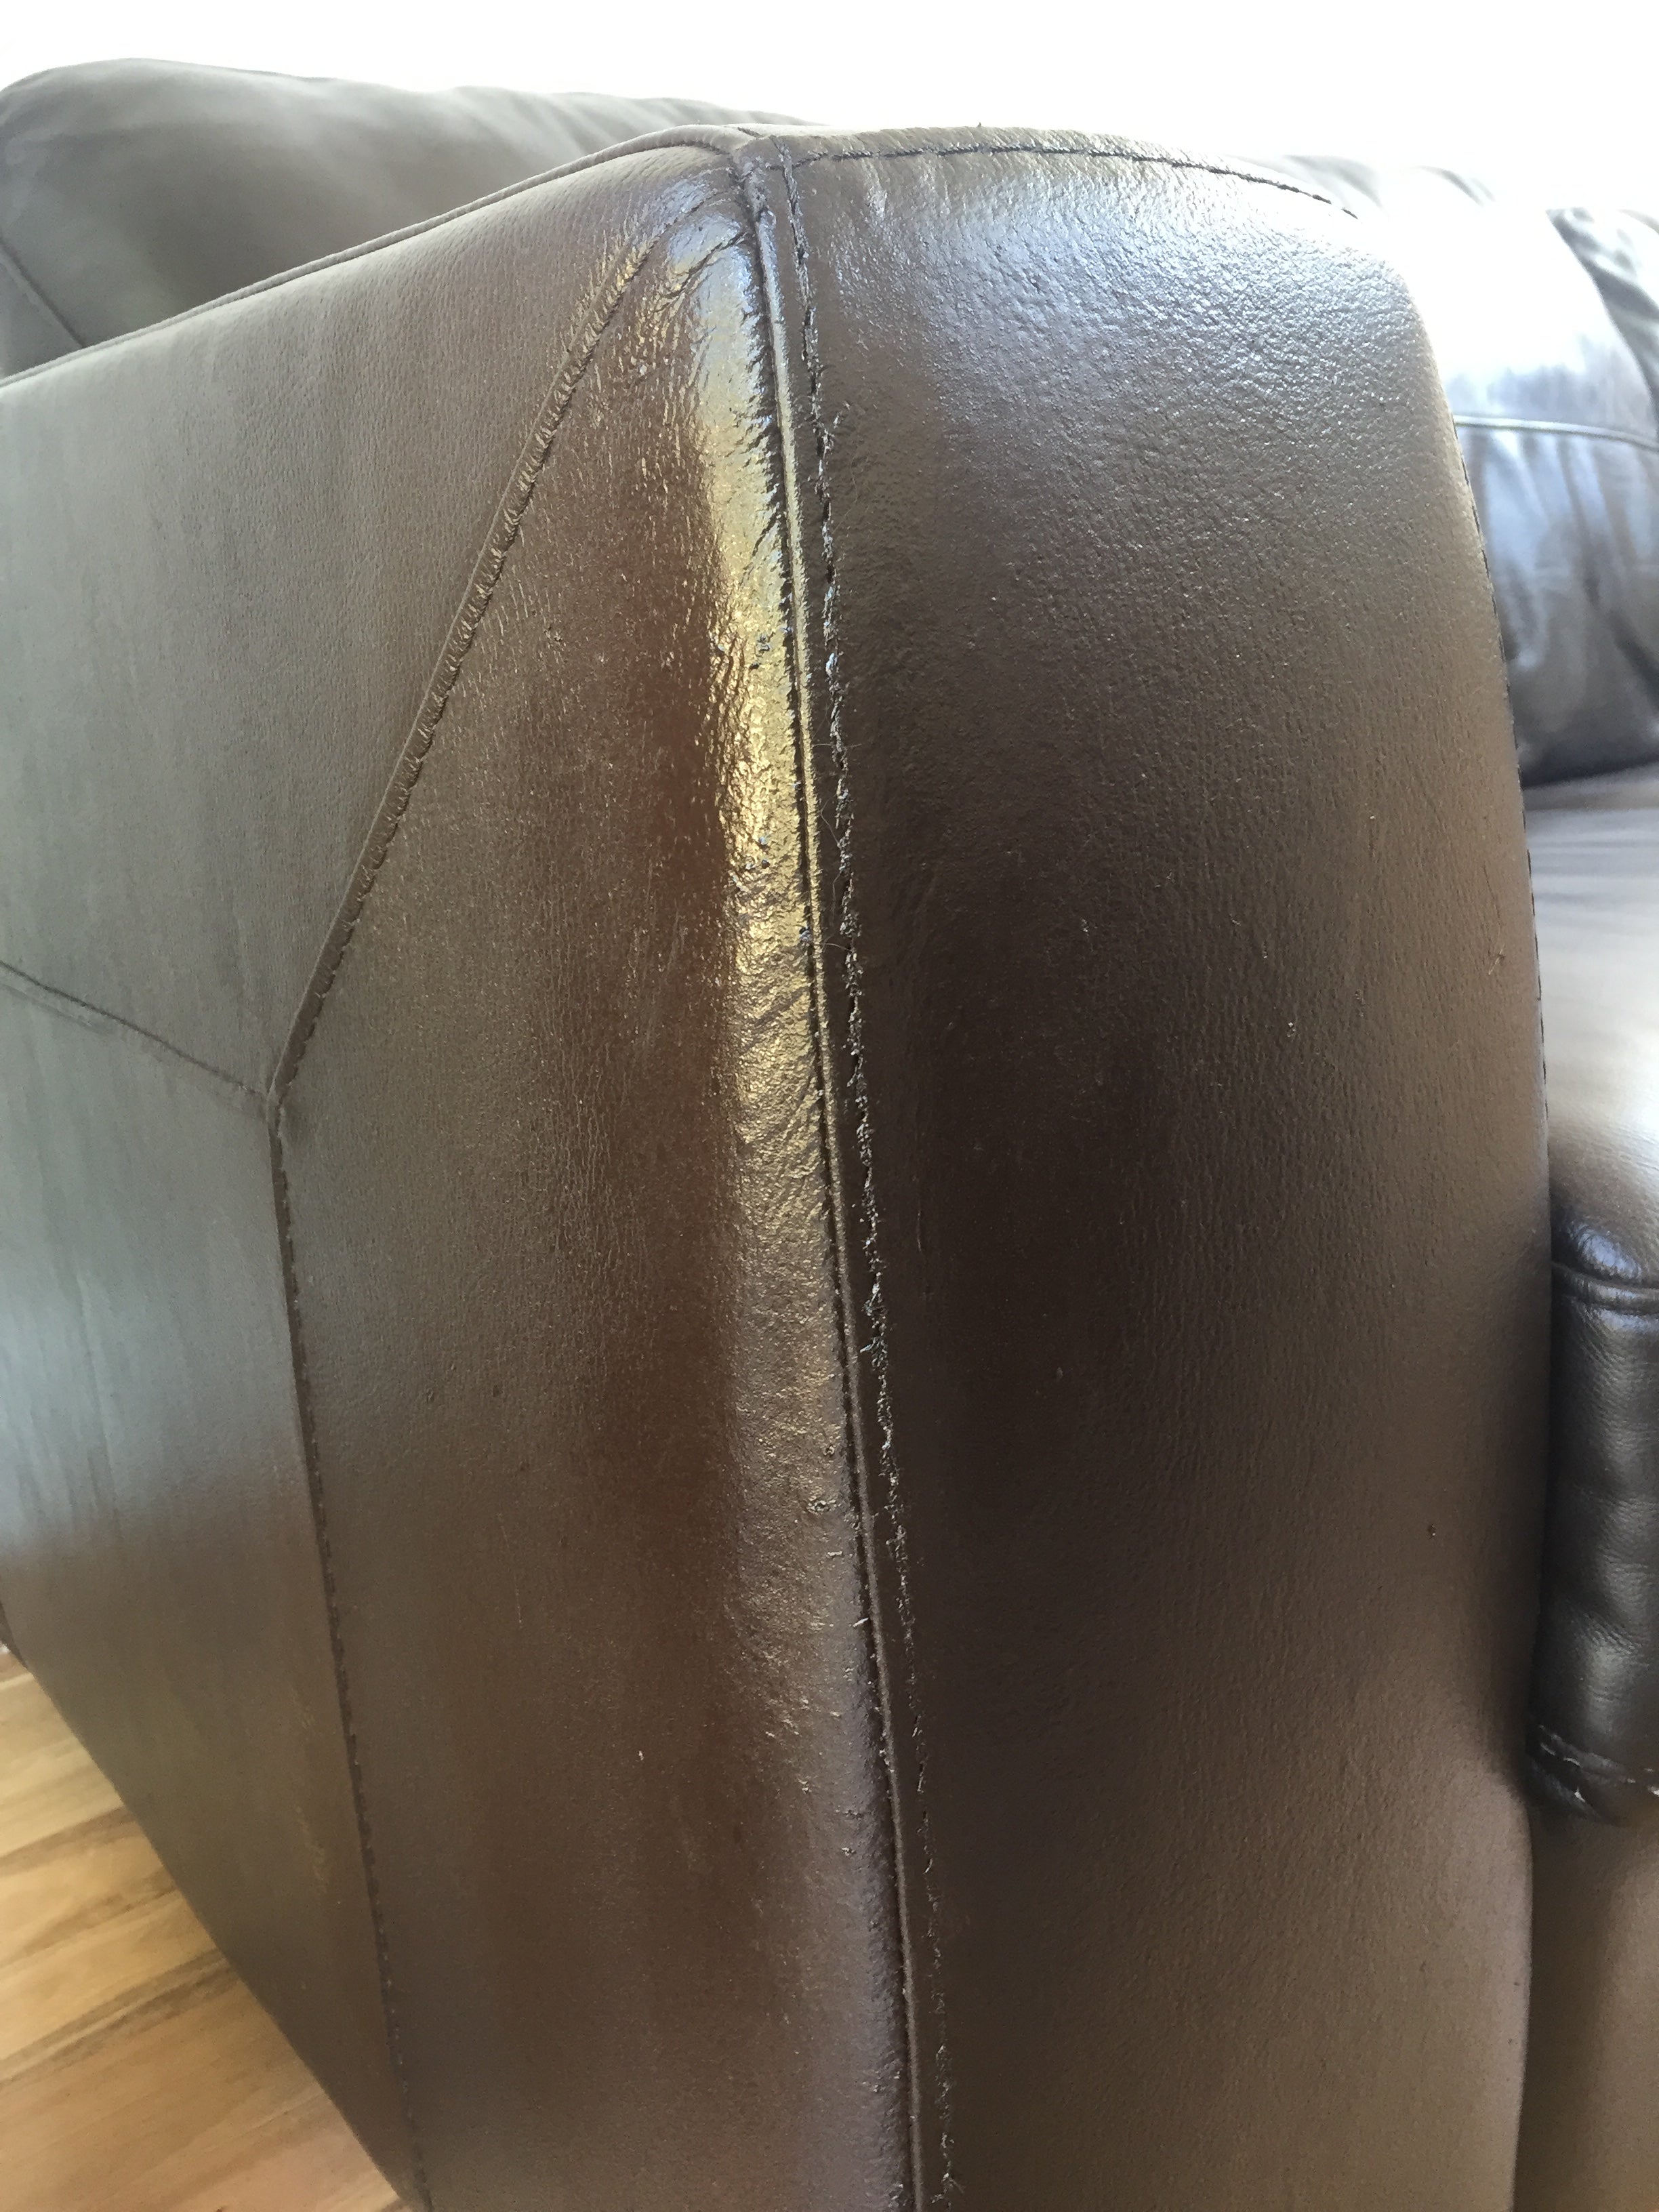
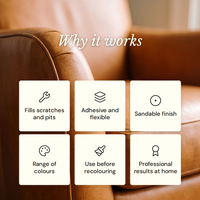
Fill scratches, cracks, pitting, splits, pet damage and other surface imperfections with this professional-grade leather filler.
- Use to fill and smooth surface irregularities such as scratches, pits, rough surfaces, gaps and joins before recolouring
- Flexible
- Can be sanded
- Strong adhesion properties
- Water-based and air drying and can be force dried with care using a hair dryer, gentle sunshine or a room heater
- Available in a range of colours
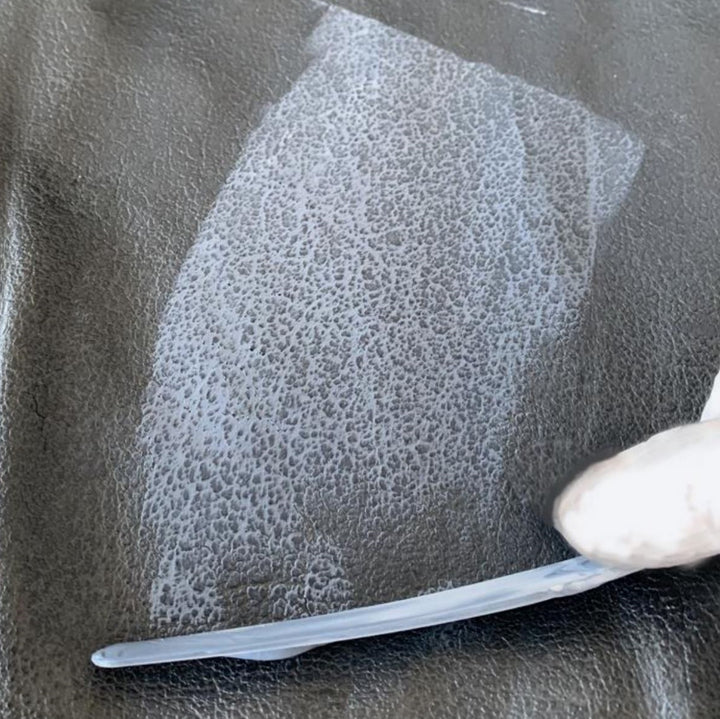
- Can be applied with stucco effect to mimic leather grain
Apply in thin layers until troughs are filled
Fill (No.14) lets you correct surface damage before recolouring. This filling compound air dries in approximately 1 hour or can be force dried with a hairdryer for speedy repairs. Application is easy. Lay the paste in thin layers by palette knife, allowing drying between each coat. Sand to smooth and/or simulate leather grain by stippling or dabbing the filler to create some texture. When you are happy with the surface, conceal your repair work with new colour coatings (primer, paint and topcoat).
Colours
Leather Filler (No.14) is available in a range of colours and the white version can be tinted using a small amount of Leather Hero paints or dyes (5-10%).
Available in repair and recolour kits
You'll love the transformations you can achieve with this industry best leather repair product. Also available in value bundles in Repair & Recolour Kits.
Will it stiffen the area?
In the world of fillers, this product is classed as 'flexible'. That means that isn't stiff and brittle and can flex and stretch with a substrate that needs to flex and stretch; that is, leather. For most jobs, any stiffening effect is minor and temporary. More firming may occur on jobs where a lot of filler is used.
Adhesion
There are universal 'laws' to adhesion. Best results occur when the surface is free of loose particles, keyed by sanding, clean, dry, free of oils, silicones, waxes or any other factor that inhibits a strong bond.
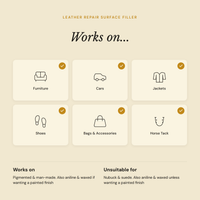
This product/kit is suitable for use on most leathers.
To conceal repairs made with leather filler and/or glue, refinish (recolour) the area with the leather paint system available in our Repair & Recolour Kits. Note that leather dyes are generally not suitable for covering leather repairs as they are transparent stains that do not provide coverage.
If your leather is pigmented (painted/coated) most repairs can be fully covered, concealed and well blended making them invisible or at least more discreet than before.
Repairs to waxed, aniline or semi-aniline leathers can be more difficult to blend and conceal due to the specialist nature of the coatings. Sometimes, a compromise on all priorities is the best possible outcome.
Glue : Applies to Glue and Filler & Glue Kit
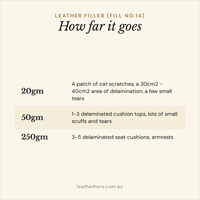
20gm: A patch of cat scratches, a few handbag repairs, several small tears
50gm: Lots of minor fixings and repairs
Filler : Applies to Filler, Filler & Glue Kit and Repair & Recolour Kits
20gm: A patch of cat scratches, a 30cm2 - 40cm2 area of delamination, a few small tears
50gm: 1-3 demainated cushion tops, lots of small scuffs and tears
250gm: 3-5 delaminated seat cushions, armrests
Coverage estimates are approximate. Your job may require more or less product.
1) Prepare the surface thoroughly before attempting to glue. Use Spot & Prep (No.4) and a scrubbing brush to remove any surface soiling, oils, waxes or silicones that might prevent good adhesion. Allow to dry.
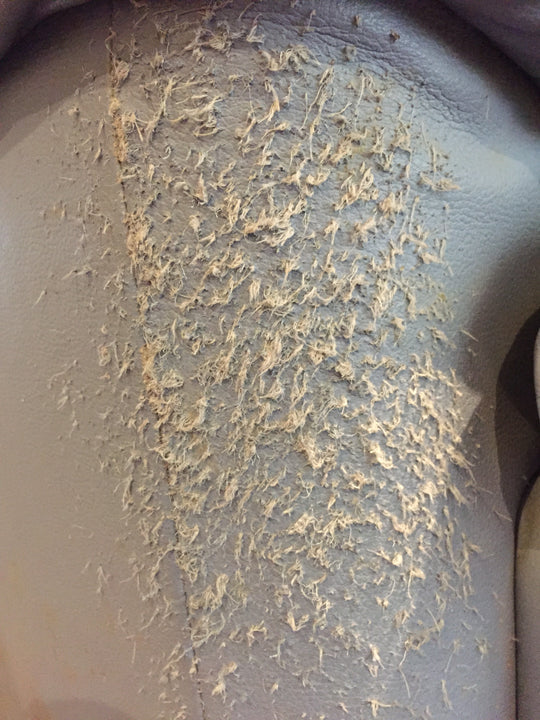
2) Sand to remove any loose particles, smooth textural irregularities and key the surface.
Glue (Skip if no gluing is needed. Go to Step 8)
3) Apply glue to the edges or surfaces you wish to join. Allow the glue to go tacky (a few minutes)
4) Apply a second smear of glue over the first then bring the edges or surfaces together.
5) Wipe away any excess glue from the surface.
6) Hold together until the glue cures. This can be done by hand, using masking tape or by applying weights. A hair dryer can be used to speed drying.
7) Once the glue has cured, it can be sanded. More glue can be applied if needed.
Filler
8) Using a palette knife or similar scraping tool, lay in/on thin layers of filler (around 1ml depth). Aim for neat filling to minimise the amount of sanding needed.
9) Allow complete drying of each layer. This is critical to a successful job.
10) Continue to apply thin layers of filler until the depth of the scratch, scuff or surface damage has been filled and the surface is level or you've achieved the level of filling you require.
11) Around 10% Leather Paint and/or Dye can be added to the last couple of coats of filler. Tinted filler can be easier to cover when refinishing.
12) Filler can be applied using a stippling technique. This can render a leather grain look which may help your repair to blend in more effectively.
13) Lightly sand to render the final surface
14) Refinish (recolour) the repair site using a Repair & Recolour Kit
Leather Filler & Glue Kit
If Leather Filler & Glue Kit includes your choice of colour and size Leather Filler & Glue
20gms + 20gms
50gms + 50gms
If Glue only, includes Glue in your choice of size.
If Filler only, includes Filler in your choice of colour and size.
Ideal for:
Filler: filling pits and troughs such as cat scratches, correcting surface irregularities associated with delaminated coatings, filling gaps and concealing joins, filling scratches and scuffs. Texturizing to mimic leather grain
Use with: It's important to apply these products to a clean surface. After cleaning with Spot & Prep (No.4), appy glue and filler as per instructions. When cured, coat with primer, colour and topcoat to blend and conceal the repair as needed
Application schedule: N/A
Application method: Can be applied with a brush, palette knife, scraper or sponge
Best accessories: A soft bristle scrubbing brush, a white microfibre cloth, palette knife , sandpaper and a sponge
Instructions: On the labels, Directions for Use tab, Tips and under the How To tab in main menu
Drying time: 30 minutes - 1 hour if applied correctly; ie, in thin coats. A hair dryer, room heater or gentle sunshine can be used to speed drying time.
Time before use: wait 48 hours
Available separately: Yes
Tips:
Hold with firm pressure and avoid disturbing whilst glue dries.
Apply filler in thin layers
Ensure each coat of filler is dry before applying the next one
White filler can be mixed with up to 10% leather paint and/or dyes to create a tinted version
Apply using a dabbing or stippling technique. When dry, hand sand to subtly smooth the peaks to render a fine leather grain effect
Can be used as a skim coat on well-prepped delaminate areas. Helps to blend and soften textural irregularities
Test before use: Always test products in an inconspicuous area first. There are many makers of leather and leather coatings and whilst most are to standard, there may be some that are not
Storage: Lid on tight and away from direct UV light and heat (in a cool dark cupboard). Avoid contaminating the contents with baterial sources including skin
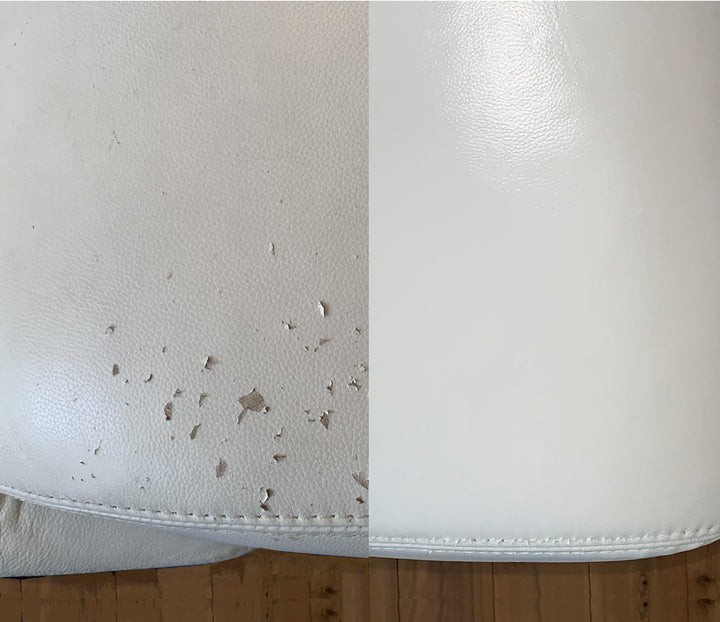
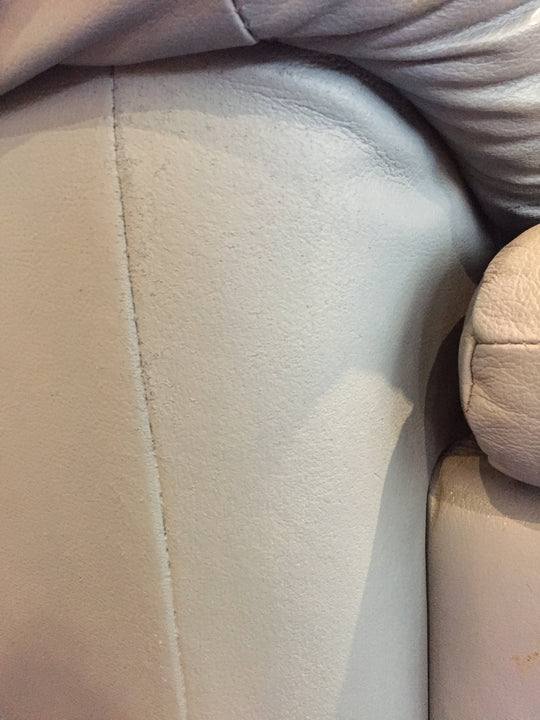
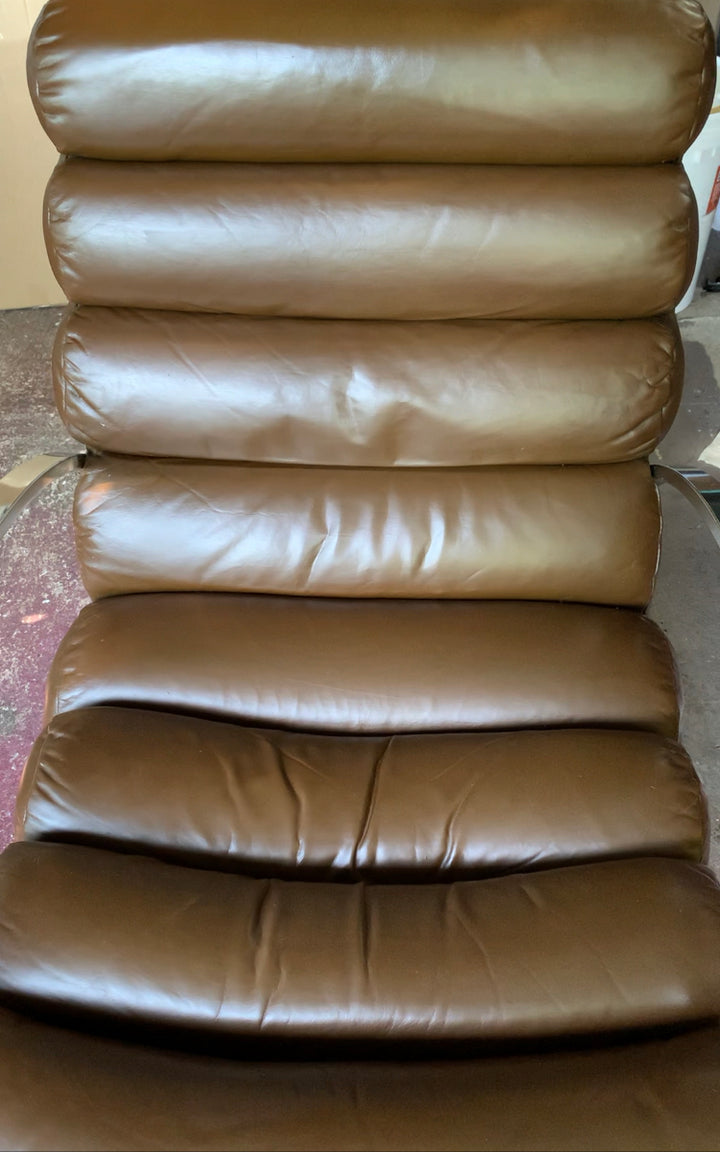
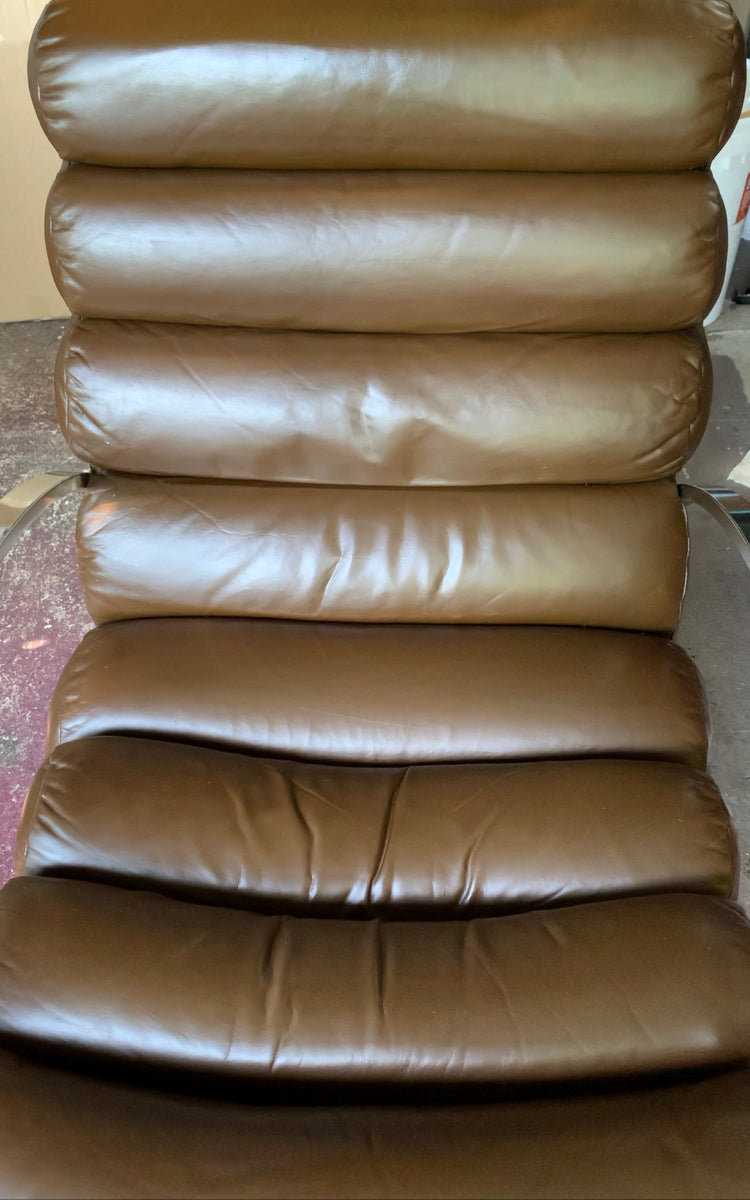
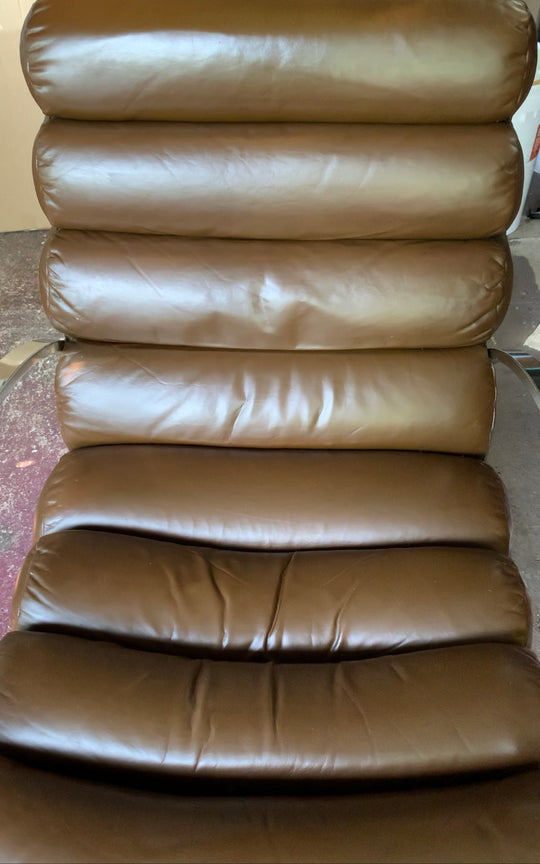
Repair surface damage
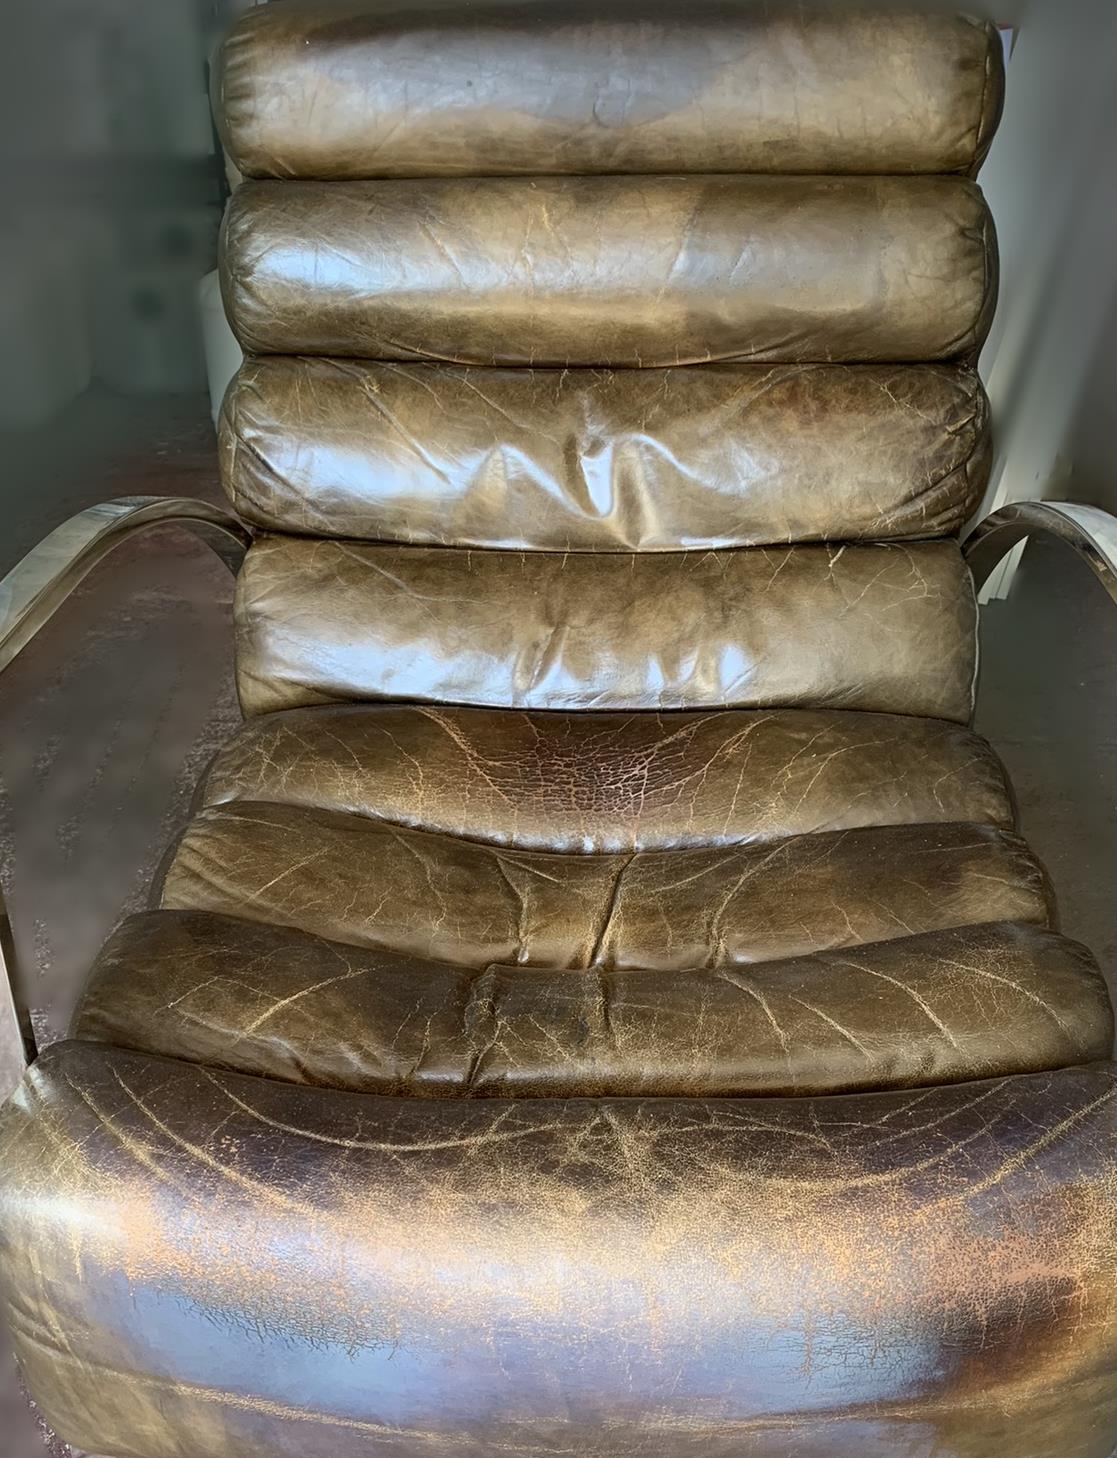
Life happens and so do pets, kids, and accidents. Over time, leather can show some 'milage' in the form of scratches, scuffs, cracks and coatings delamination.
A timely repair can not only improve the look of leather but also extend its usable life.
Good foundations
Leather has high tencile strength, is flexible and can 'give' with use. Repairing with high adhesion, flexible and sandable products lets you resolve surface imperfections and minor tears before refinishing.